Making of Tomatoes
Les principales étapes de création d’une image CGI de tomates, avec un accent particulier sur le rendu et la postproduction.
Introduction.
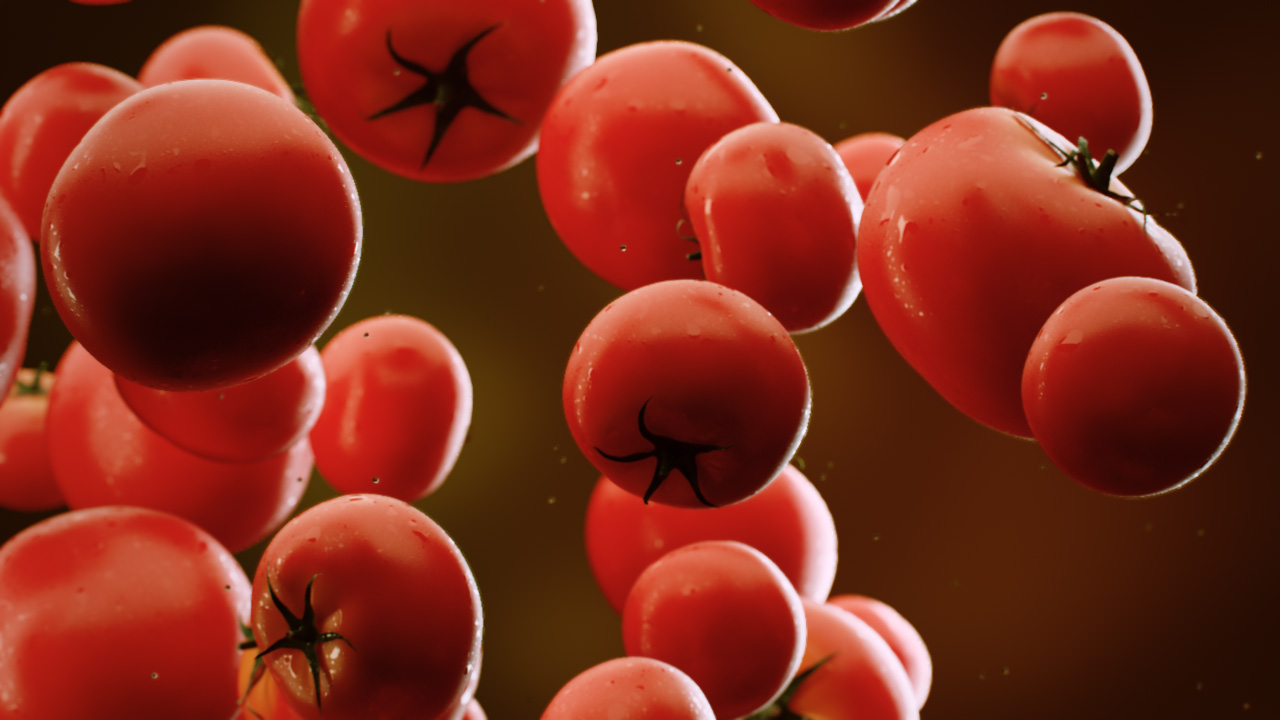
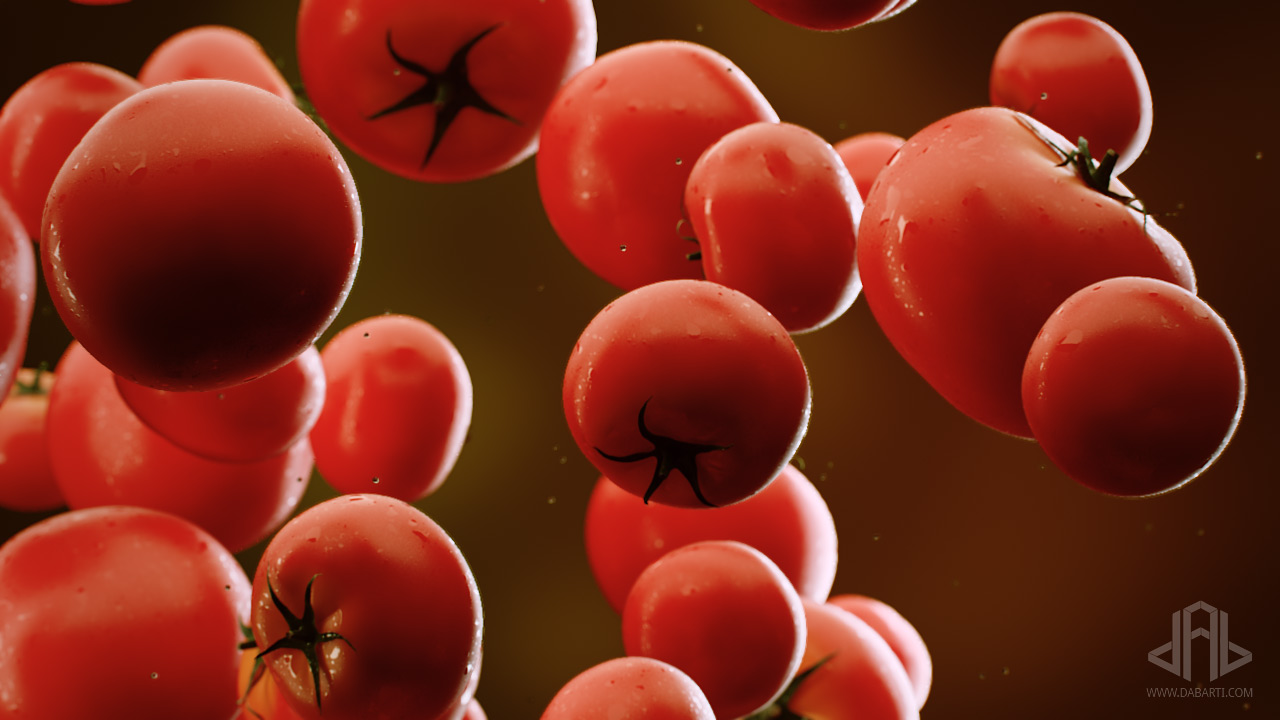
This little making of will show you the process of creation one of our last works. I will focus mainly on rendering and post-processing. Software used: 3ds Max 2012, V-Ray 2.30.01 and Adobe After Effects CS5.5 with plugins: Frischluft Lenscare , Color Finesse , ft-Vignetting , ft-Cubic Lens Distortion .
The Model.
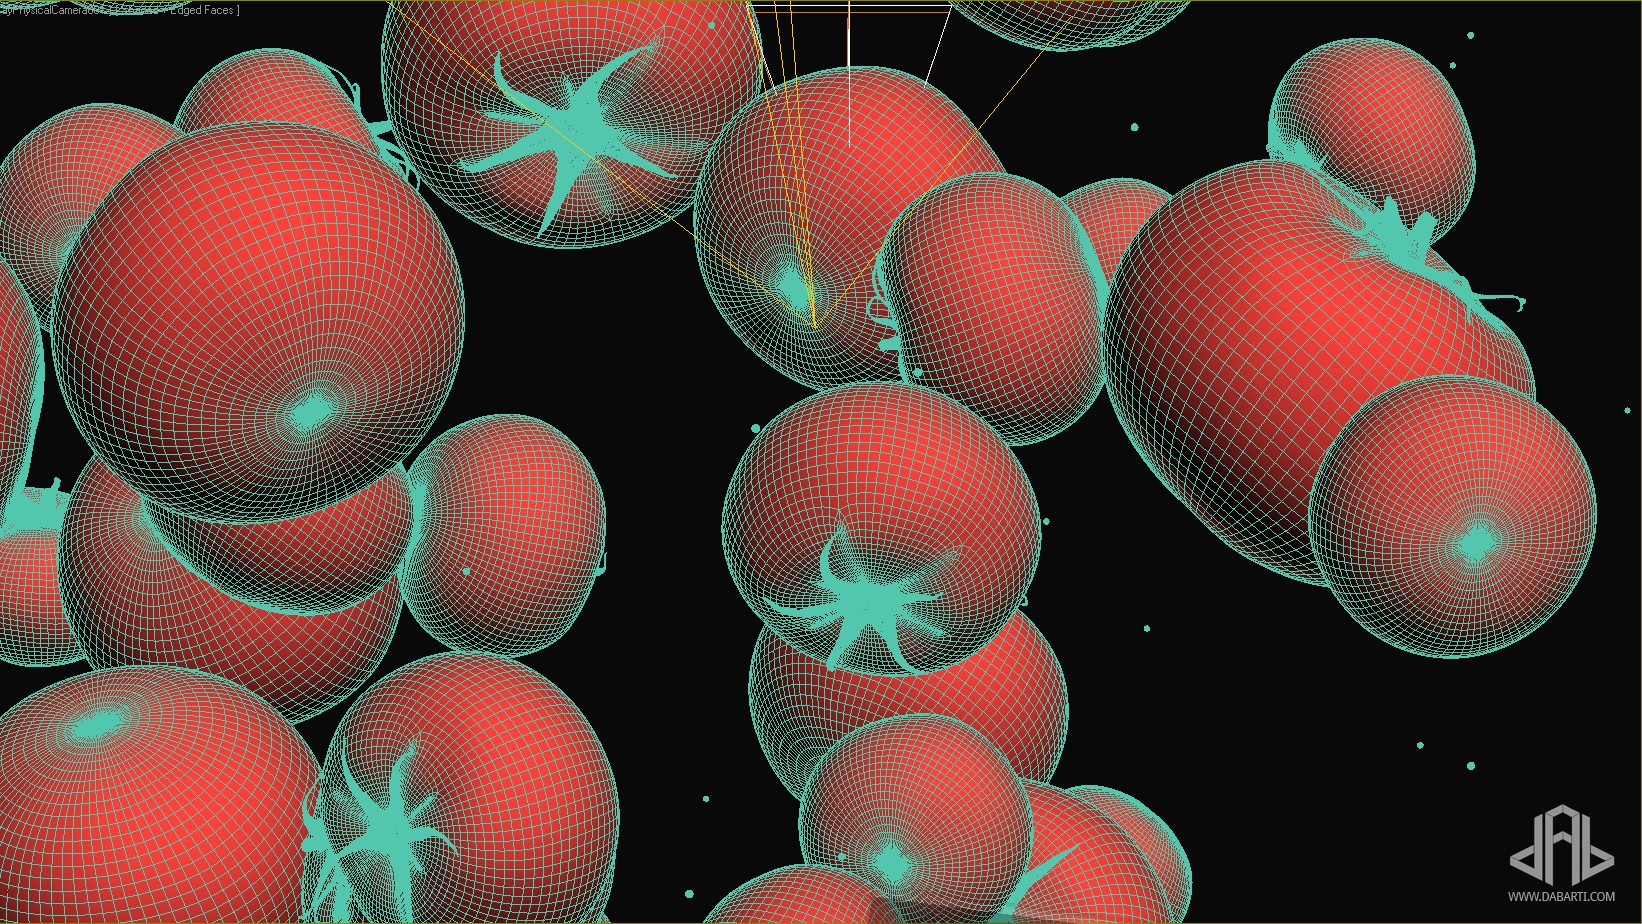
That’s the first step of creation process. You start with sphere and then model rest of the tomato. Modeling was done by one of our artists – Monika Olizarowicz.
Shading and lighting.
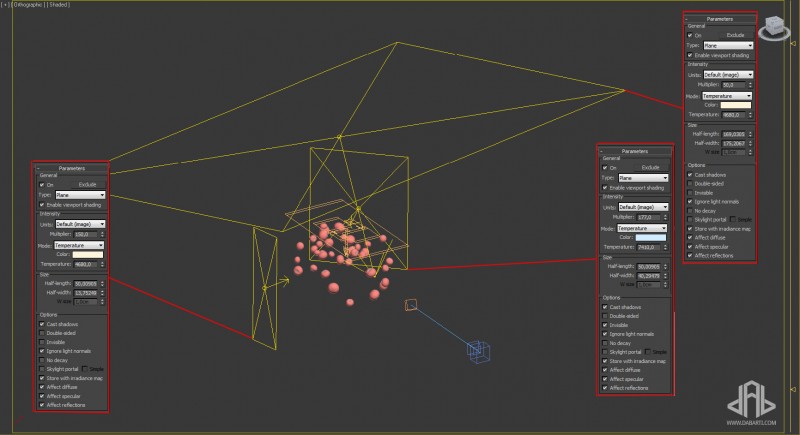
We’ve used 3 lights with different color temperature and intensity. Blueish light color is used as rim light to introduce some depth. It’s good practice to play with warm/cold colors. In theory warm color feels closer to observer and cold farther.
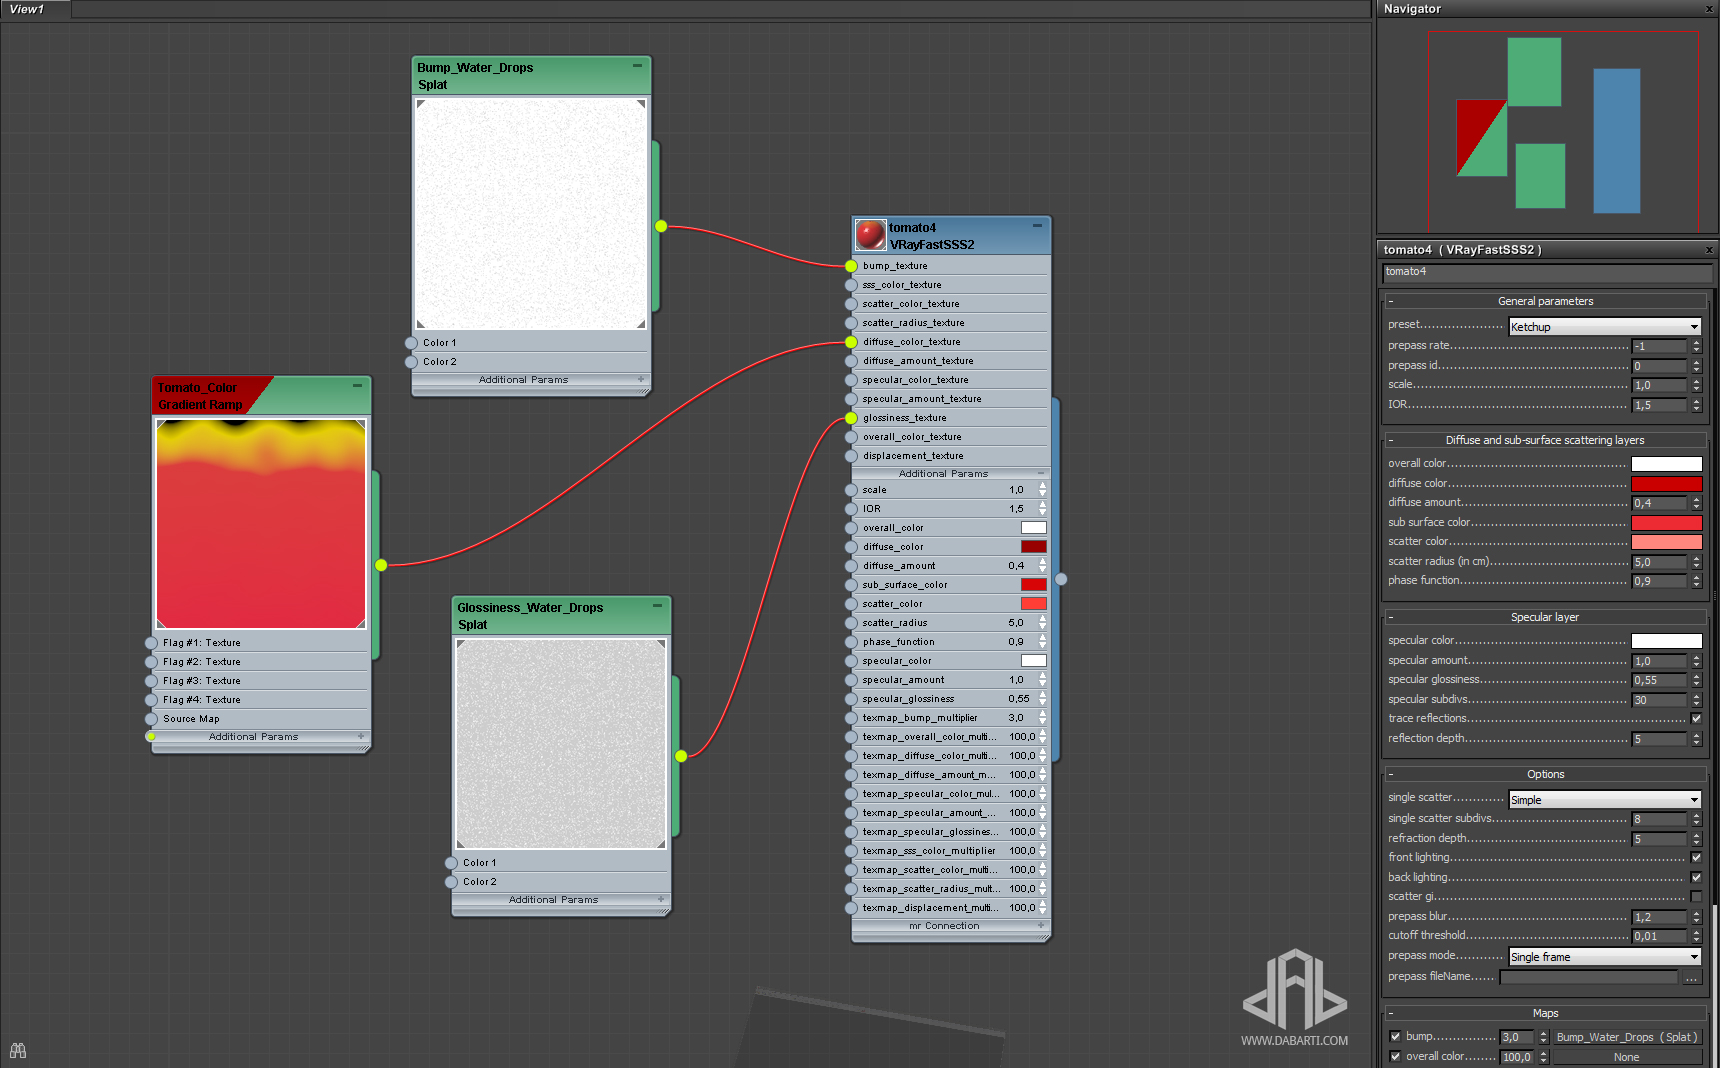
Next thing is shader setup. I’ve decided to use trick used by many photographers working with food. The key is to make the fruit look wet, this will make it look fresh and tasty. Base shader in this case is VRayFastSSS2 with some basic setup and Splat map used for simulating little drops.
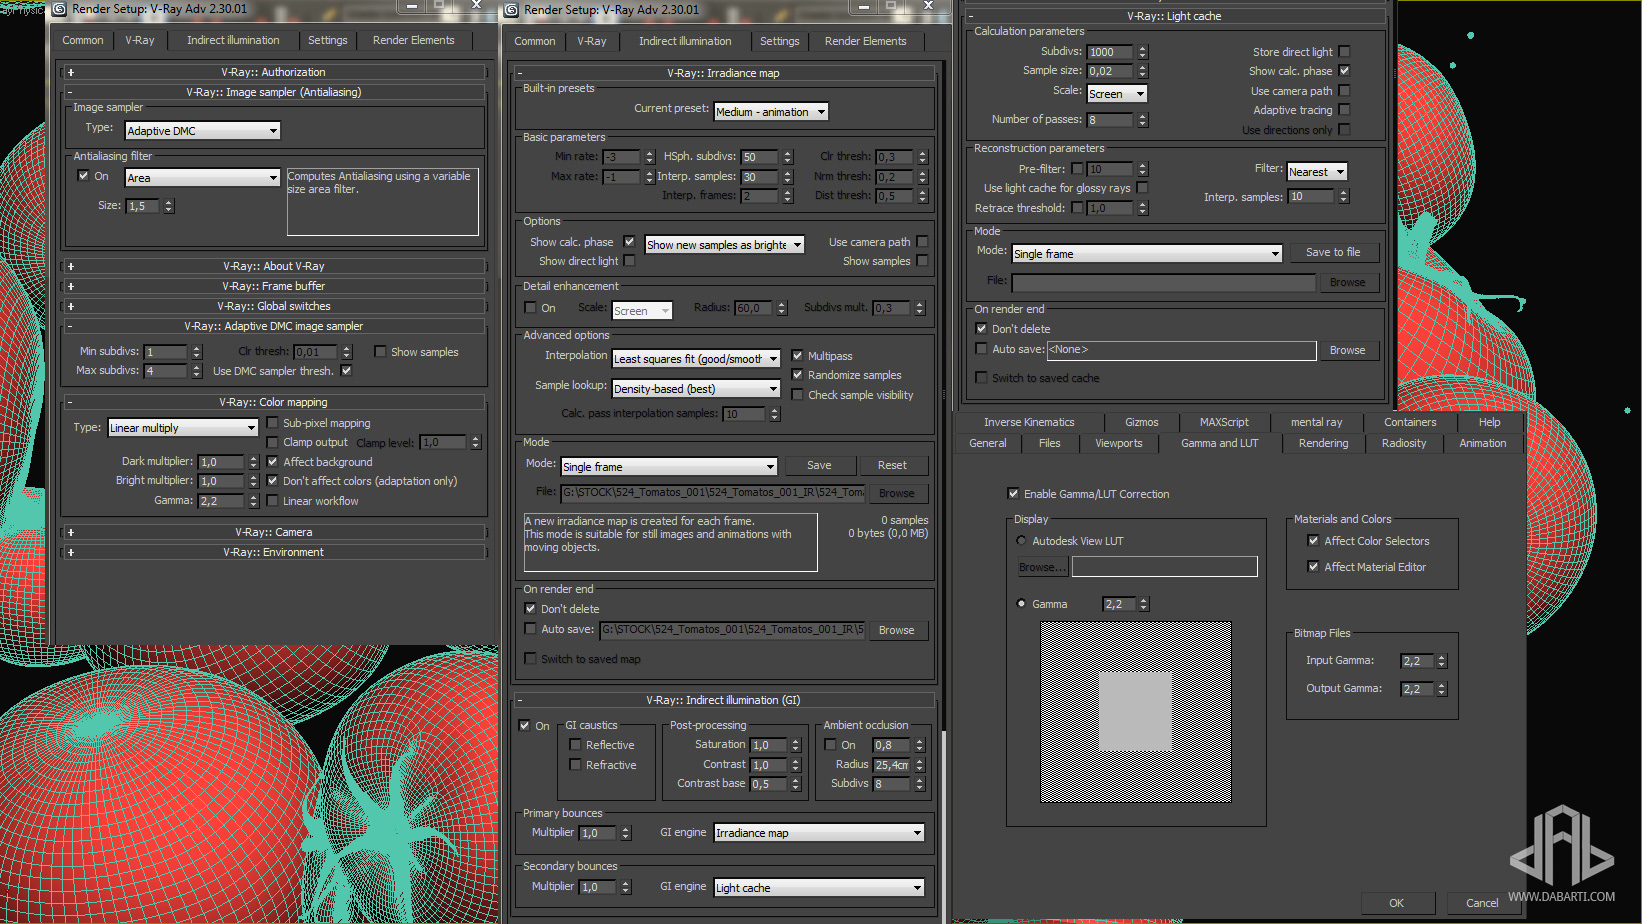
For rendering the images I am using famous LWF technique. Here is rendering setup:
The post processing.
Ok, here is best part of creation process. Even greatest renders need some post processing. General note: I always work in 32bit mode. All renders are saved to 32bit float EXR files. That gives extremely wide dynamic range and saves information that you may think is not there anymore. RGB values higher than 1 or (255 in 8 bit) are possible.
I start with clean render with ExtractoR – this brings the gamma to correct level.
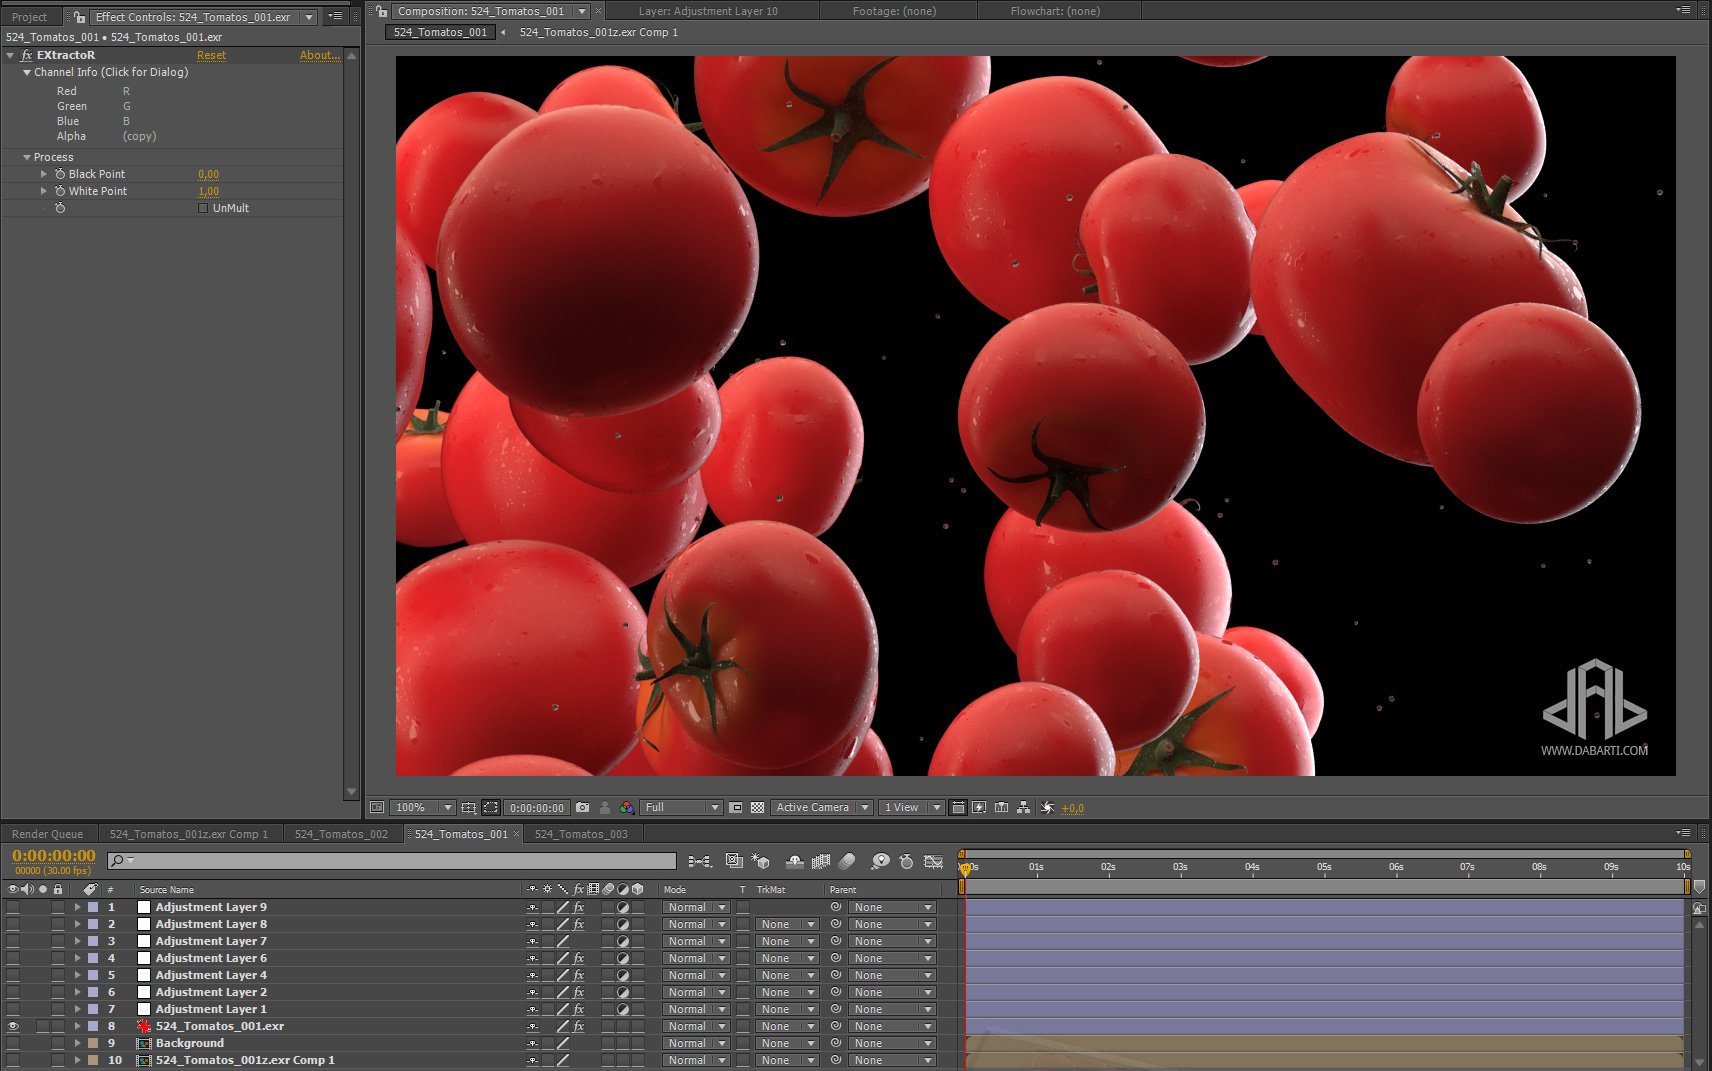
Now it’s time for Depth of Field. It’s created using Frischluft Lenscare plugin. It’s calculated based on Z-Depth map from V-Ray (you have to use render elements to output it).
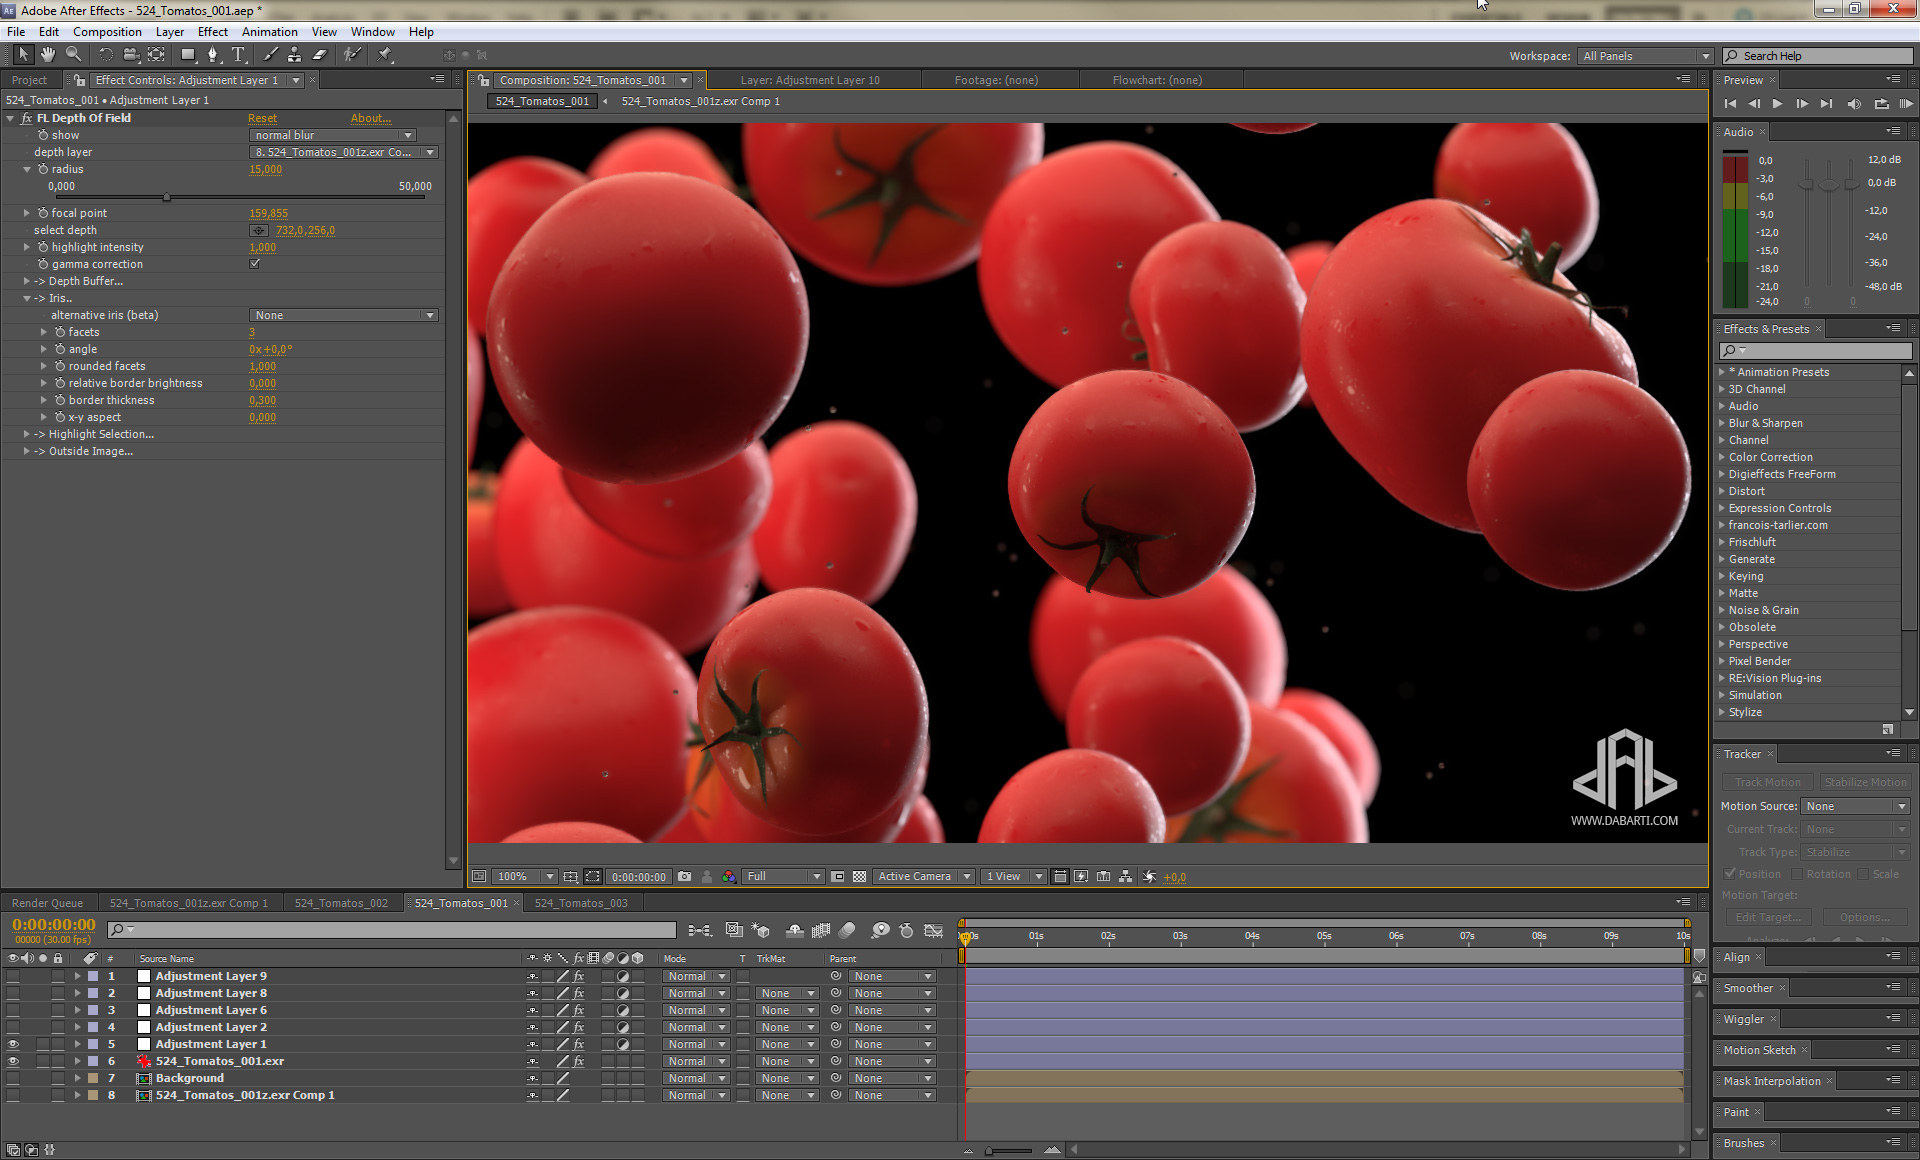
After that I apply basic color correction. You don’t have to use Color Finesse… but having all kind of color correction in one effect helps a lot.
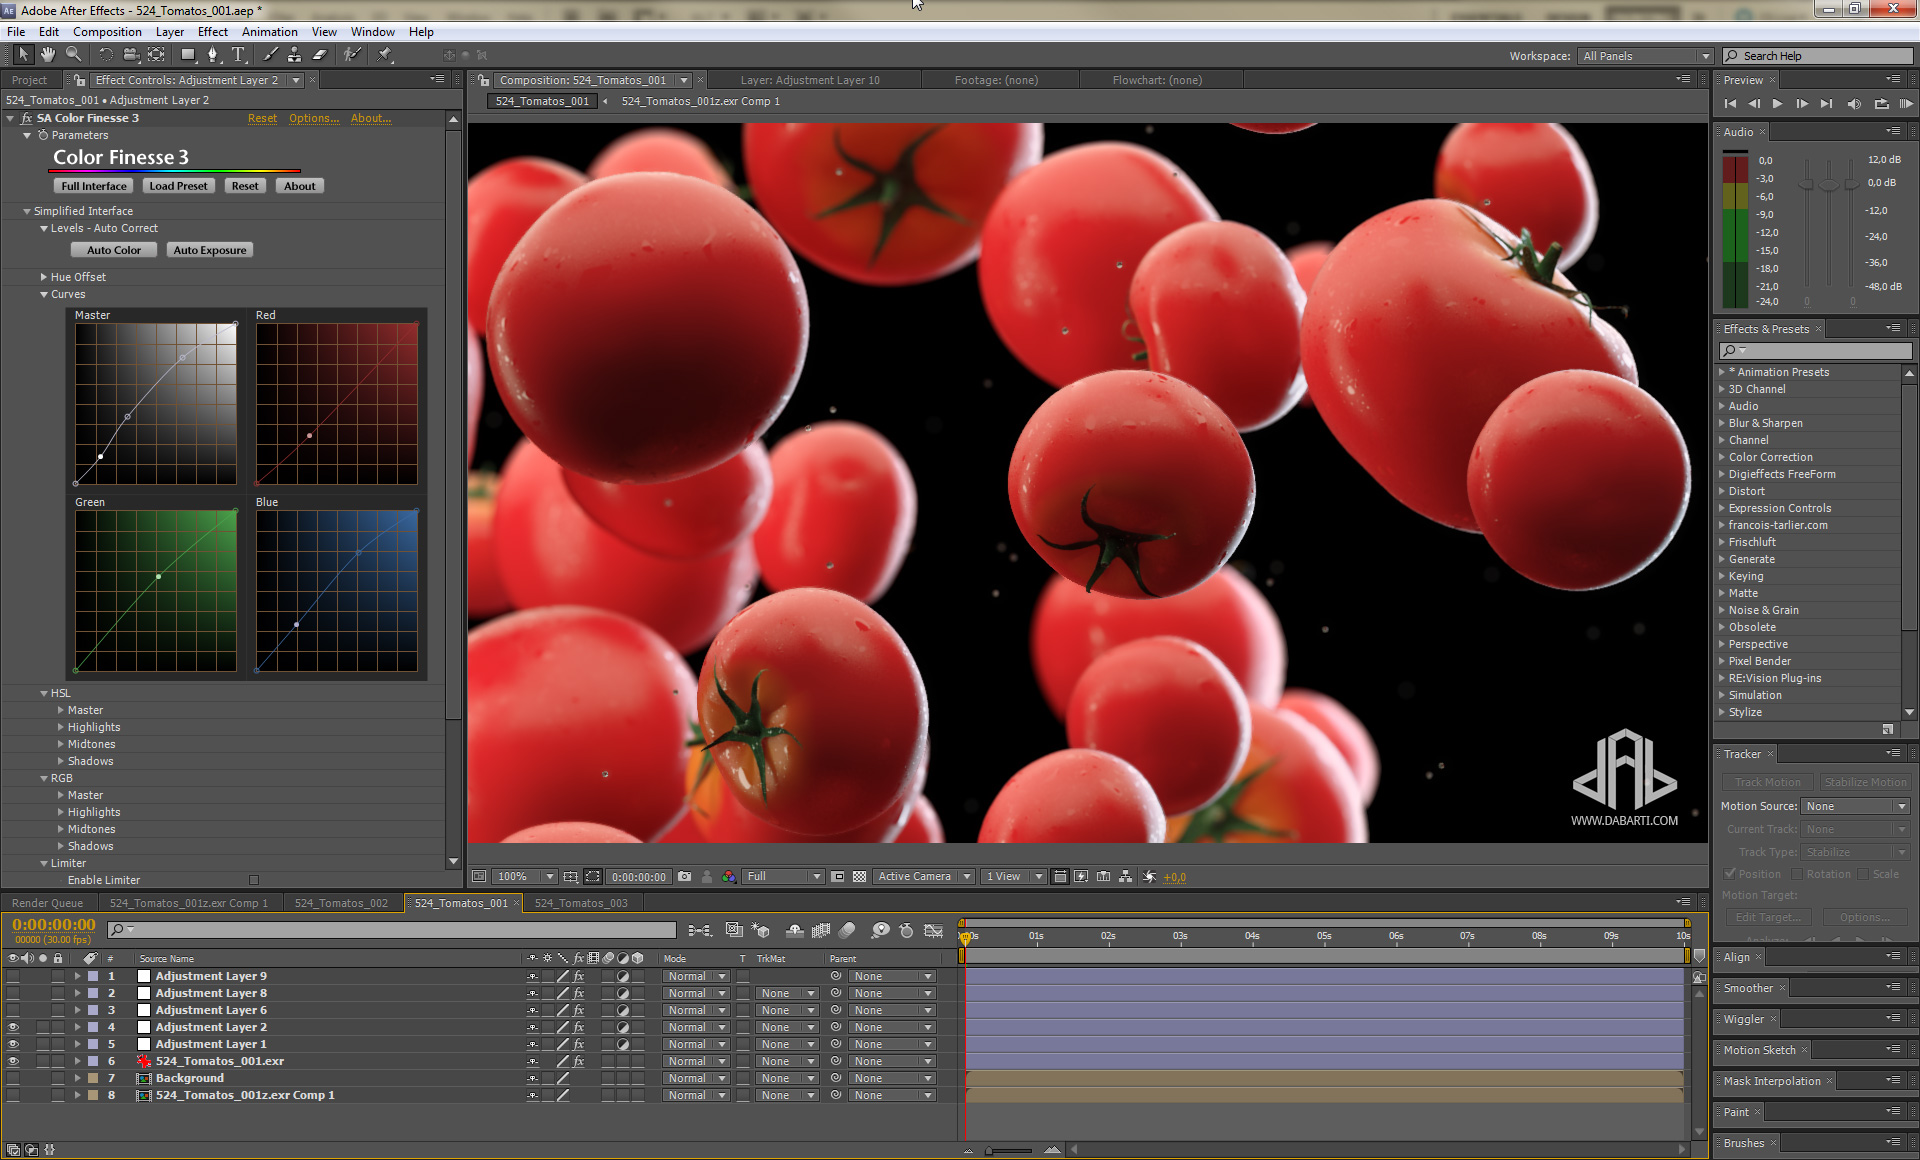
Again some more color correction. I am just looking for good color balance.
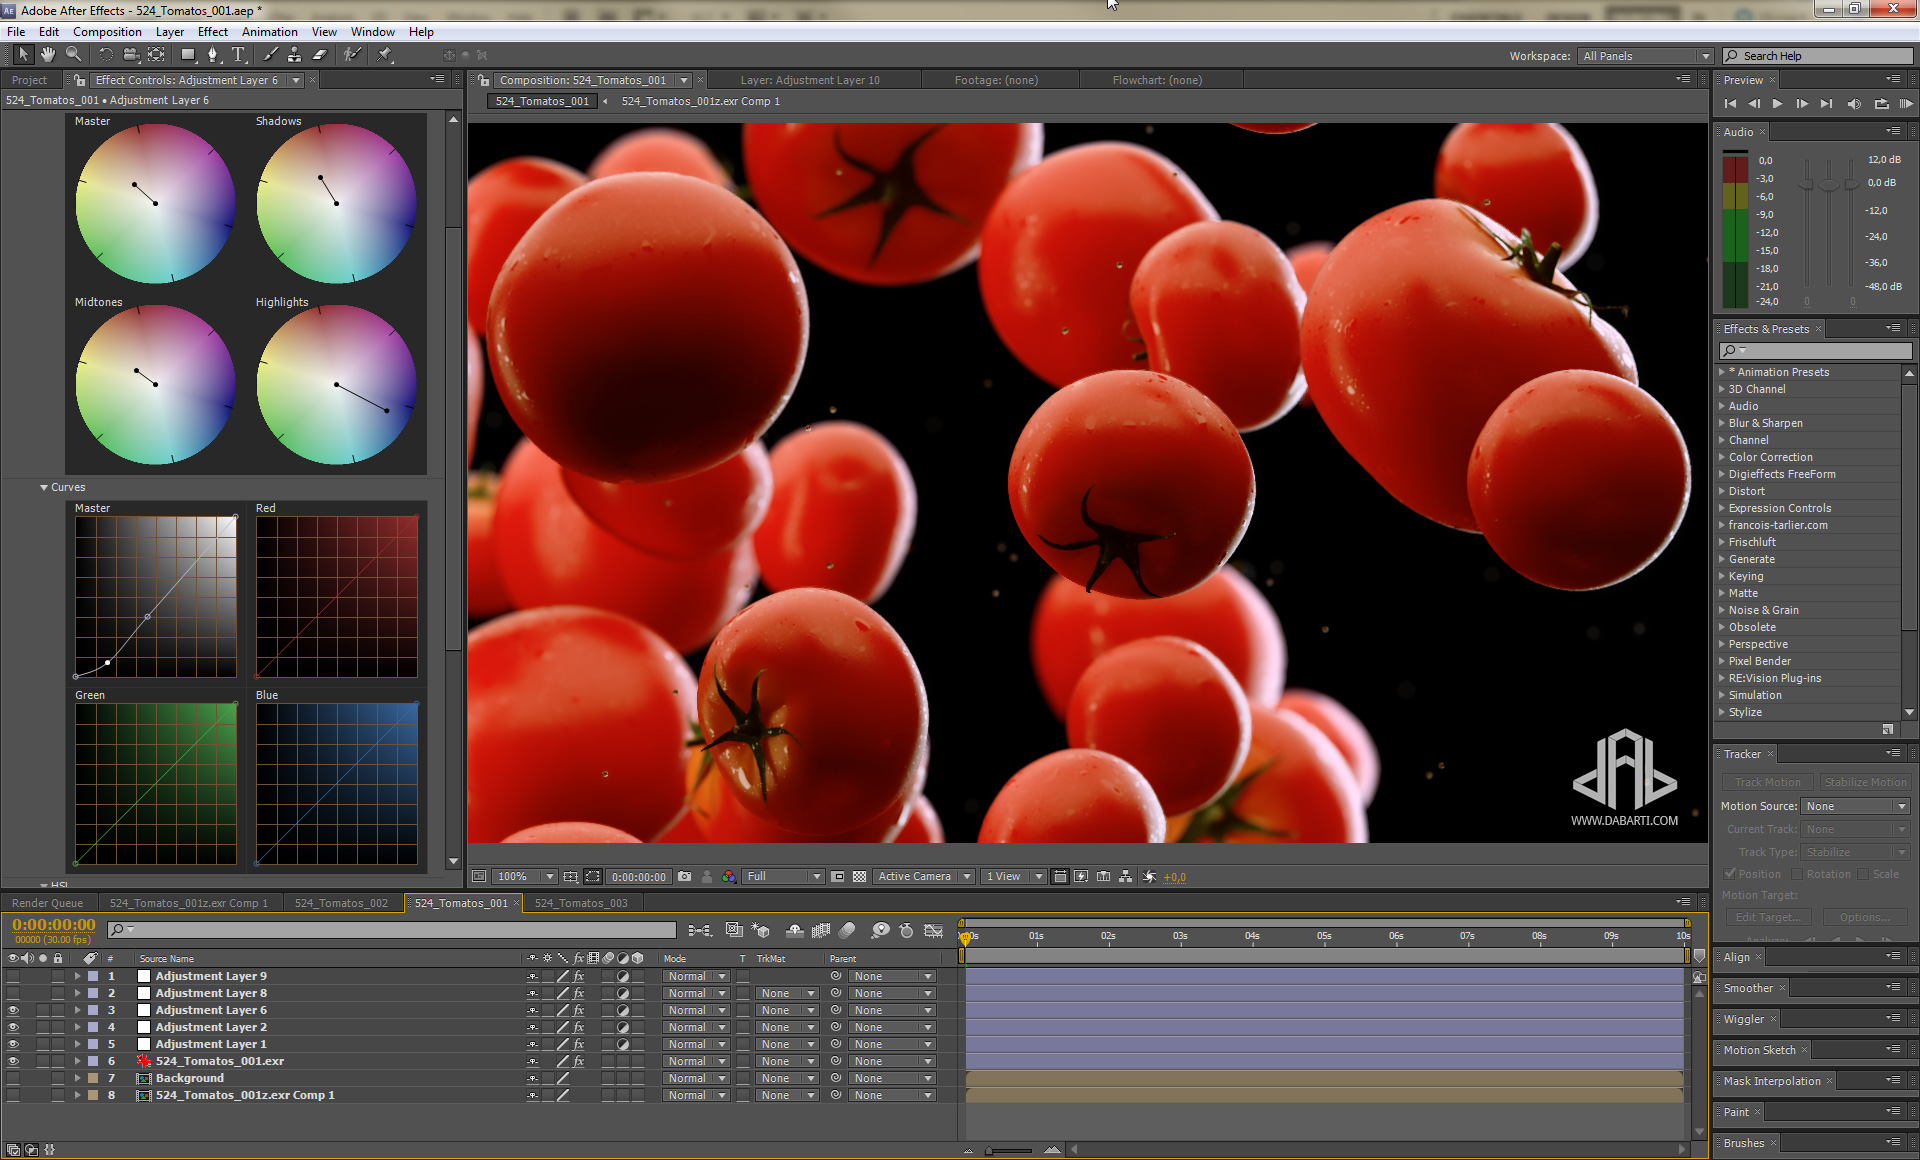
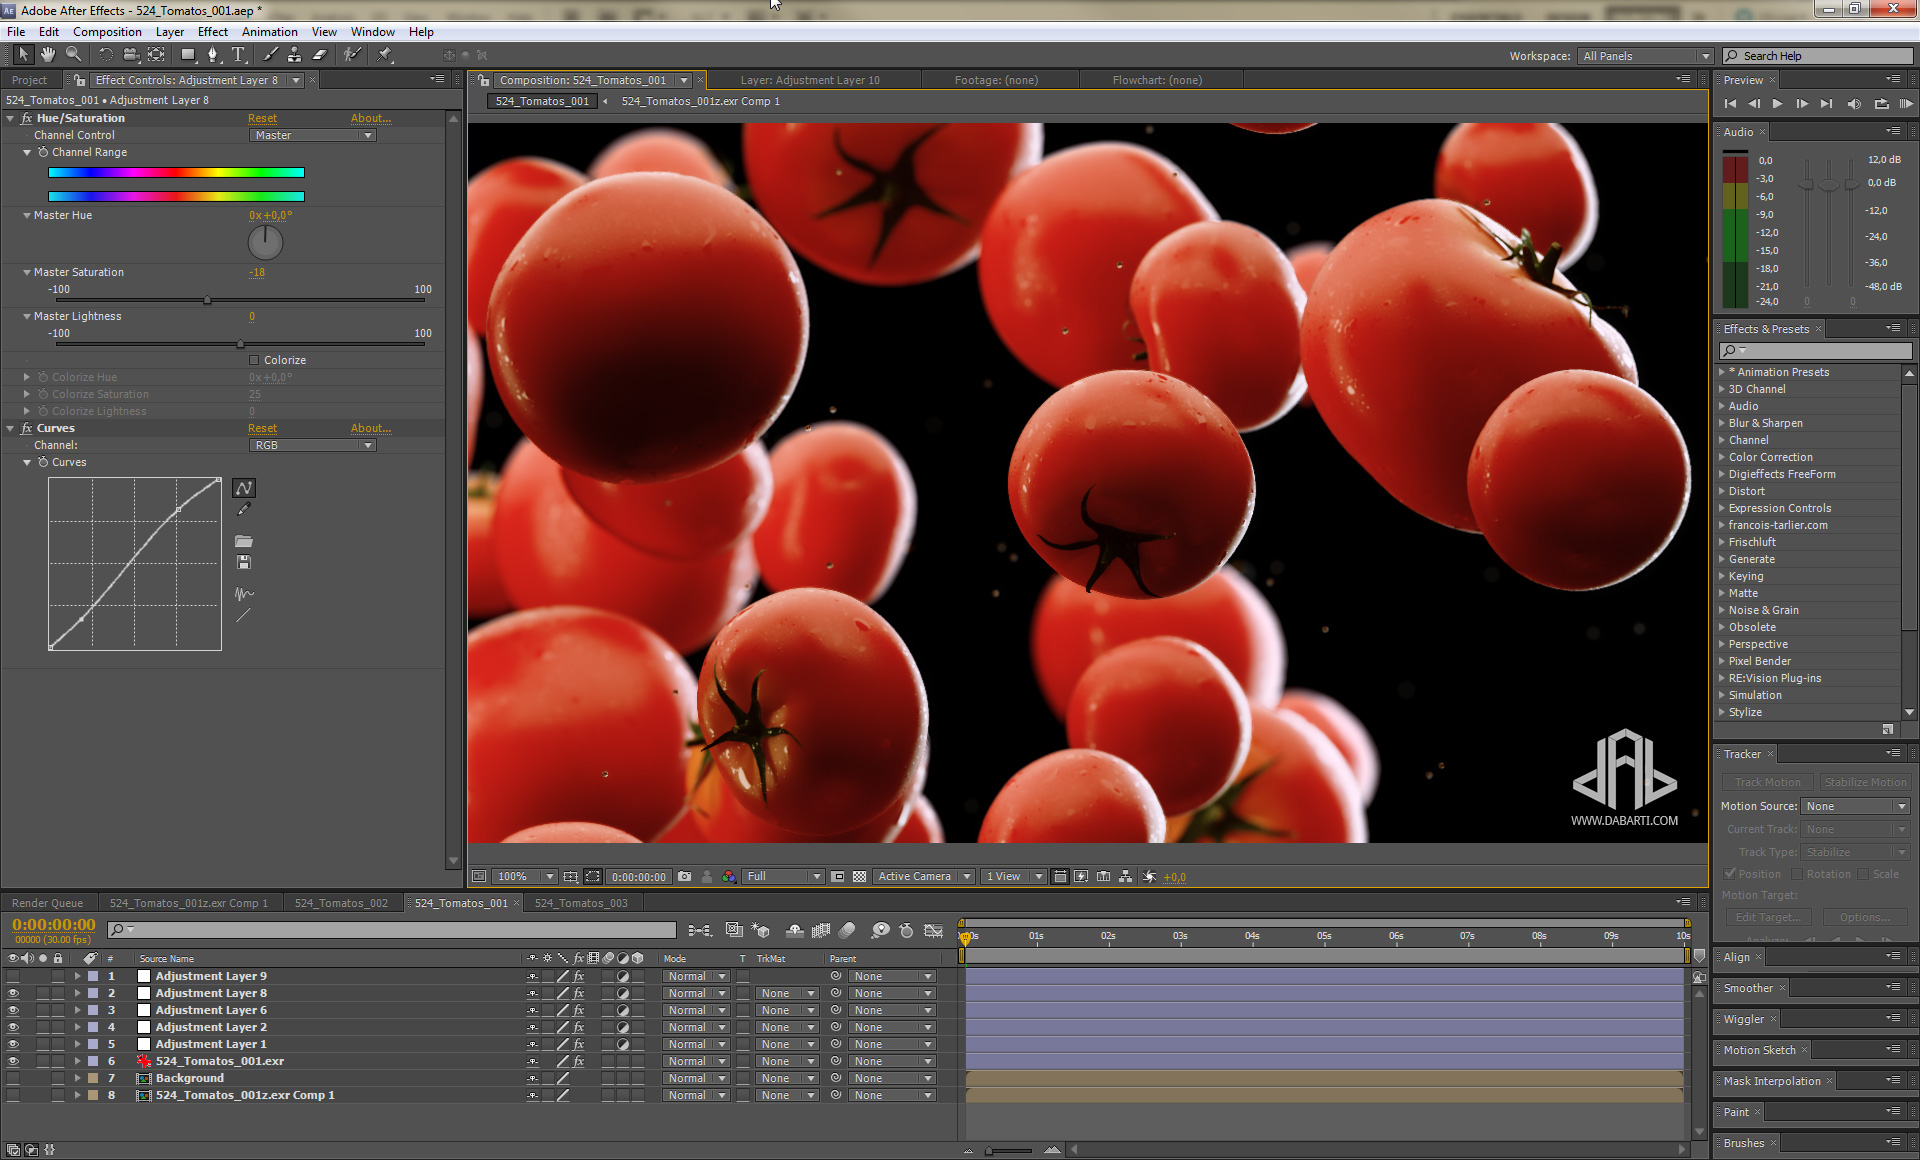
And… Guess what… More color correction. I’ve decided to bring saturation a bit down and add a little contrast.
A bit of lens distortion and vignetting helps in making image more photo-realistic.
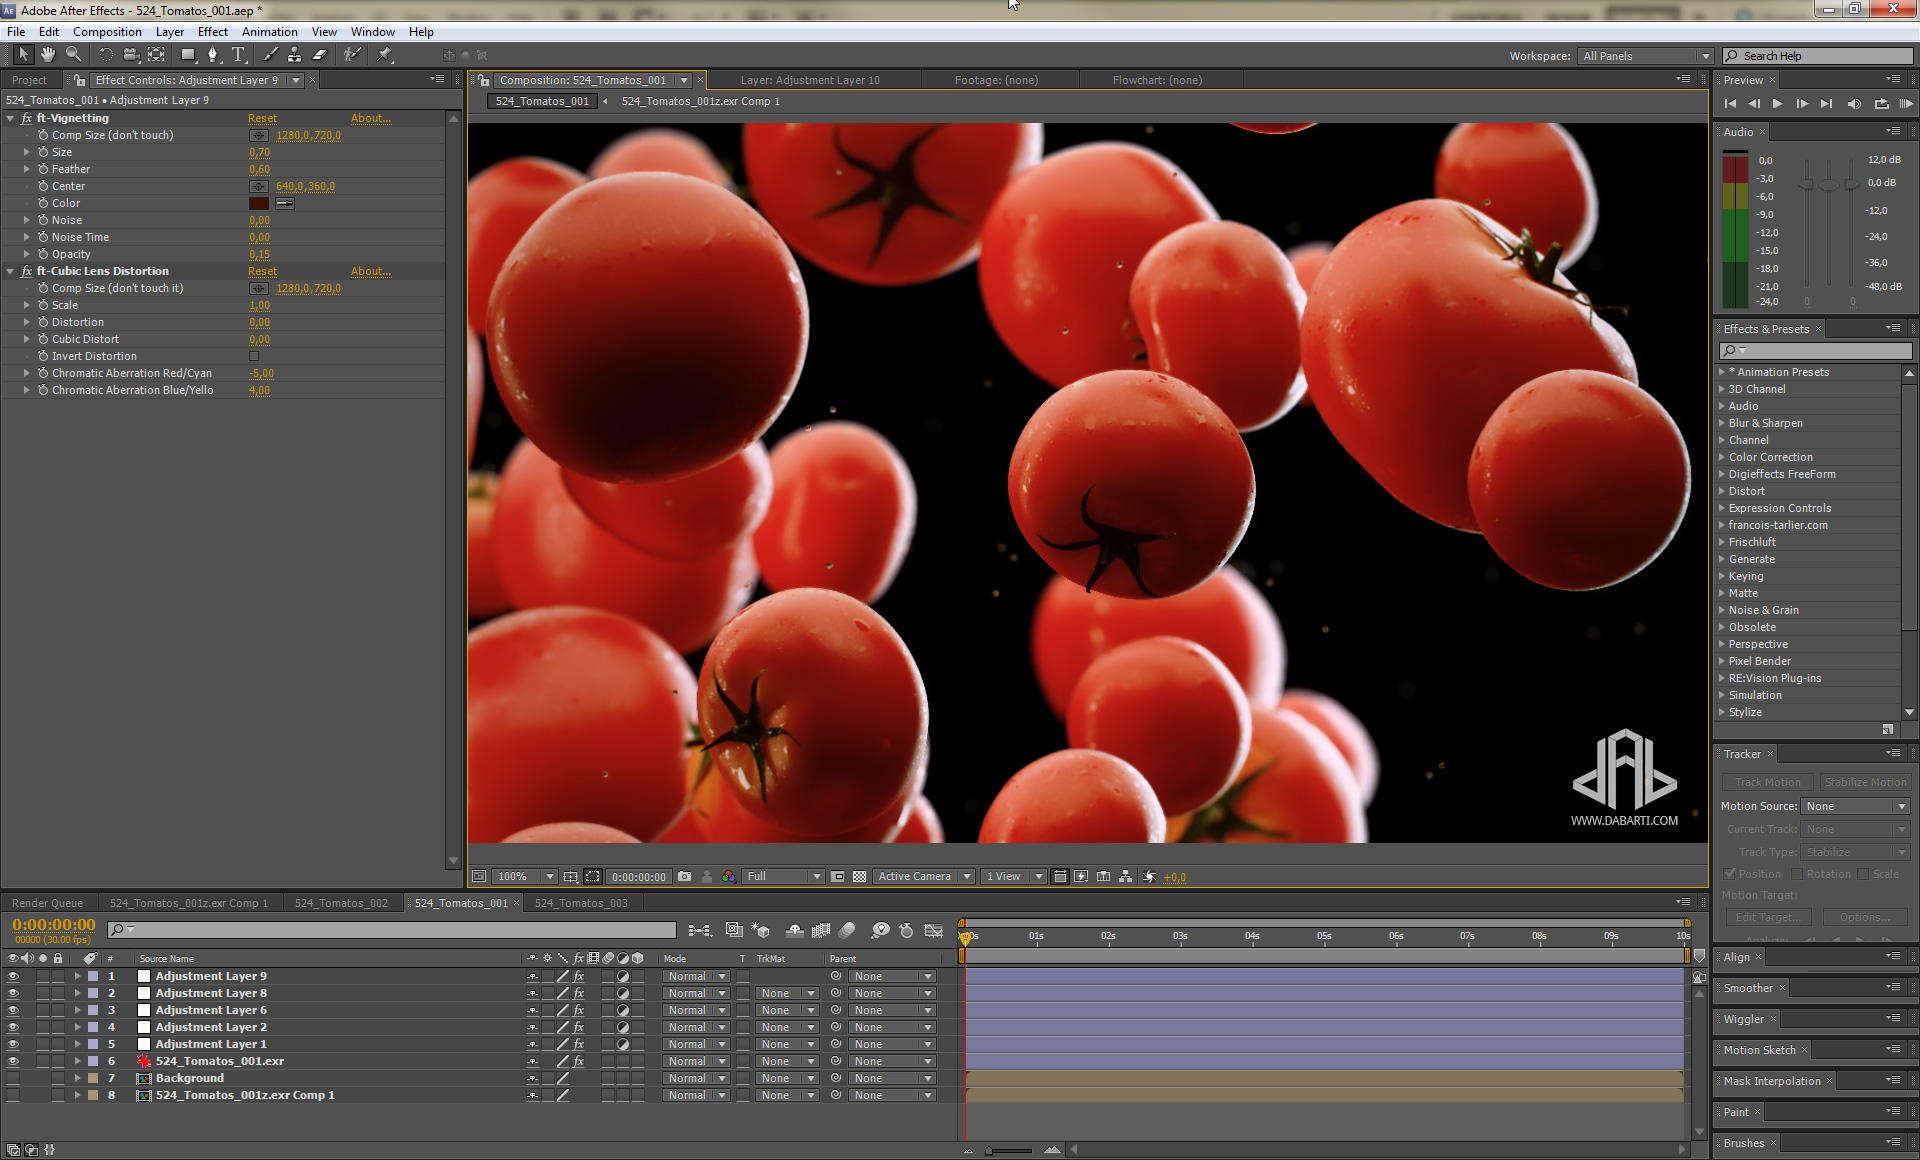
And last step is to add background. I’ve just used some colored AE noise.
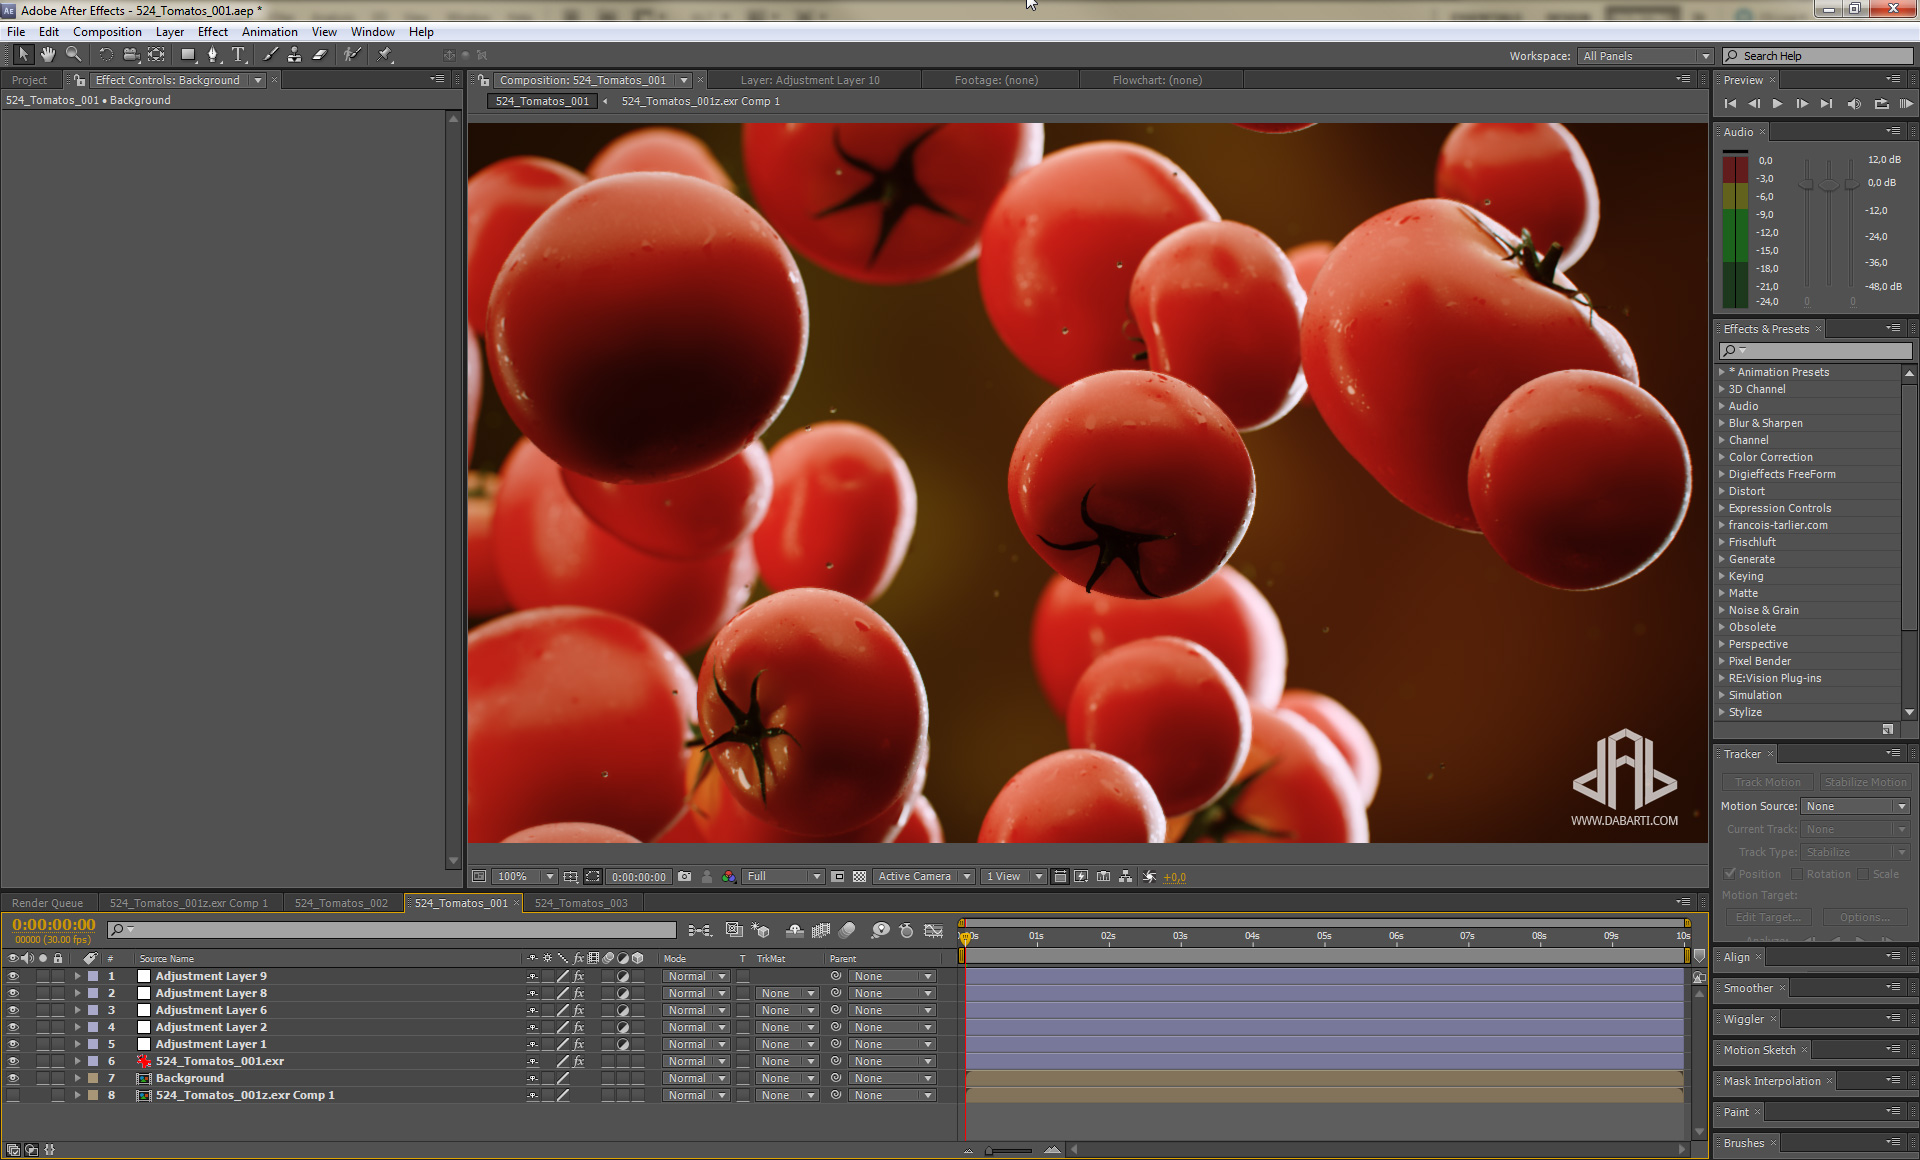
The final image.
Remember to show us some love by following us on Facebook and Twitter.