Photometric stereo.
Edit: Since releasing this article, I’ve spent some time to create easy to use processing tool for non-technical artists that would like to try this technique – https://dabarti.com/capture .
A while ago I did small research project with the aim of developing best way to acquire accurate normal bump maps from photos. In this post I’m going to describe how I did it.
Initial idea was to use Agisoft and photogrammetry, this seemed as the most straight forward approach, but while it produced some promising results I found that detail of the textures was not nearly good enough. After going though some papers on that subject I struck gold by stumbling upon technique called Photometric Stereo.
Great explanation of what it is and how it works is found on Wikipedia. What I love about this idea the most is that I could potentially take photos from single point of view and generate normal map with the quality limited only by the lens and camera sensor. Think about this like “reverse rendering”. If you know the color of the given part of the object and direction of the light, you can basically find out the surface normal.
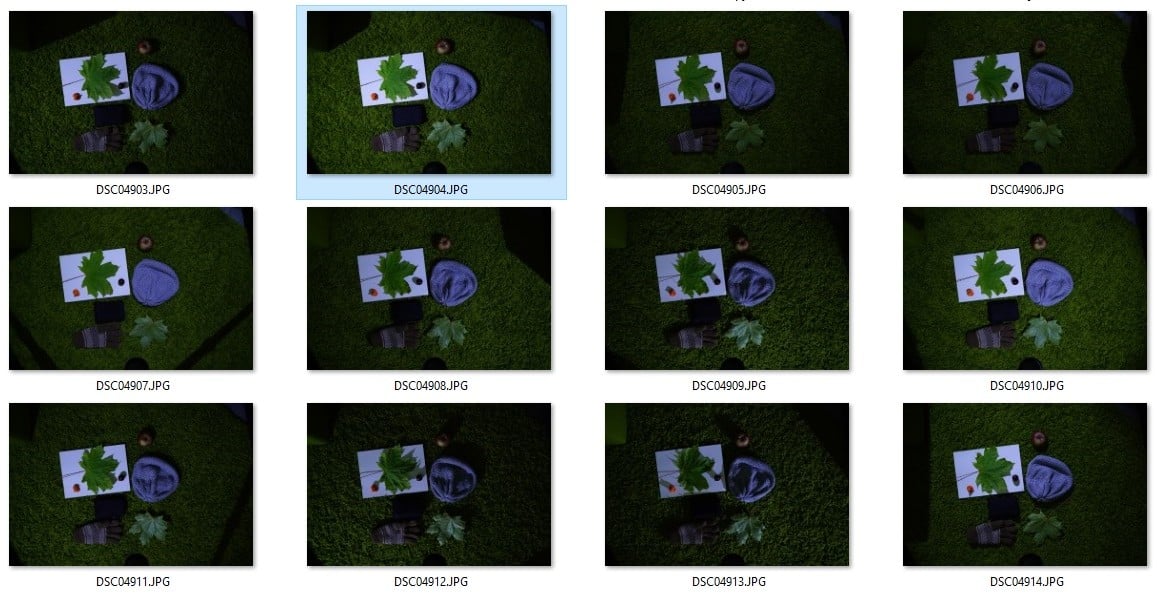
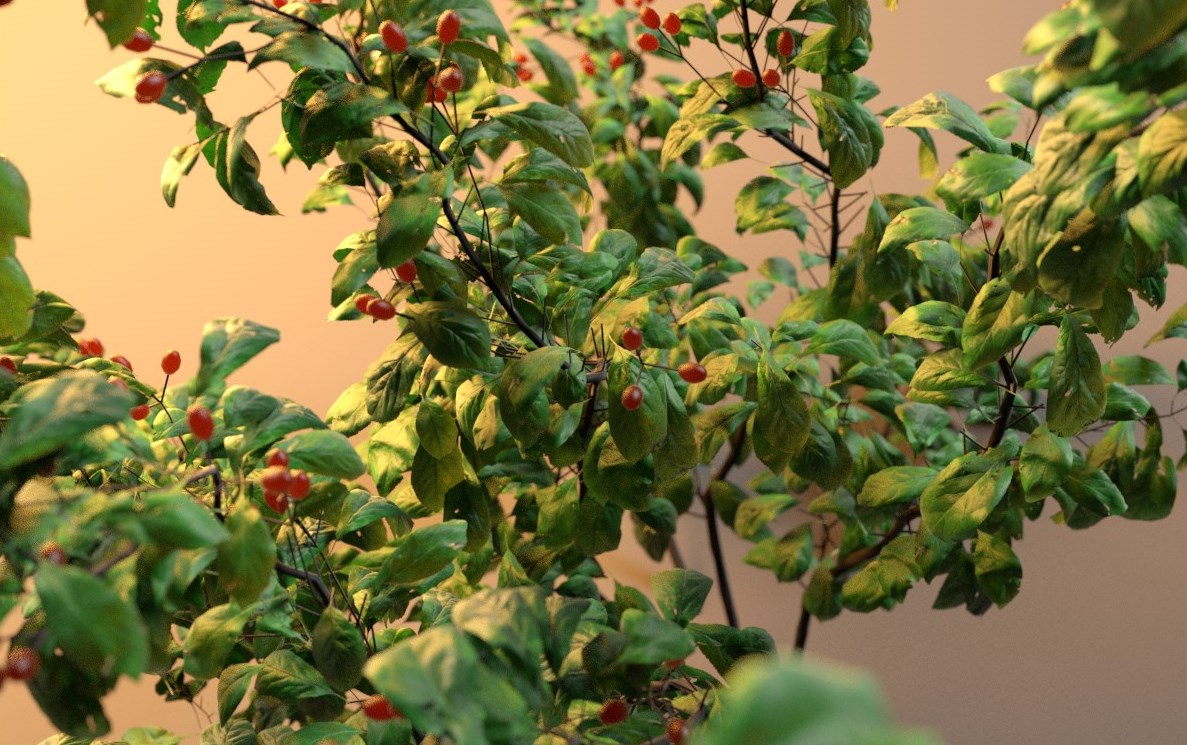
With first try I converted this:
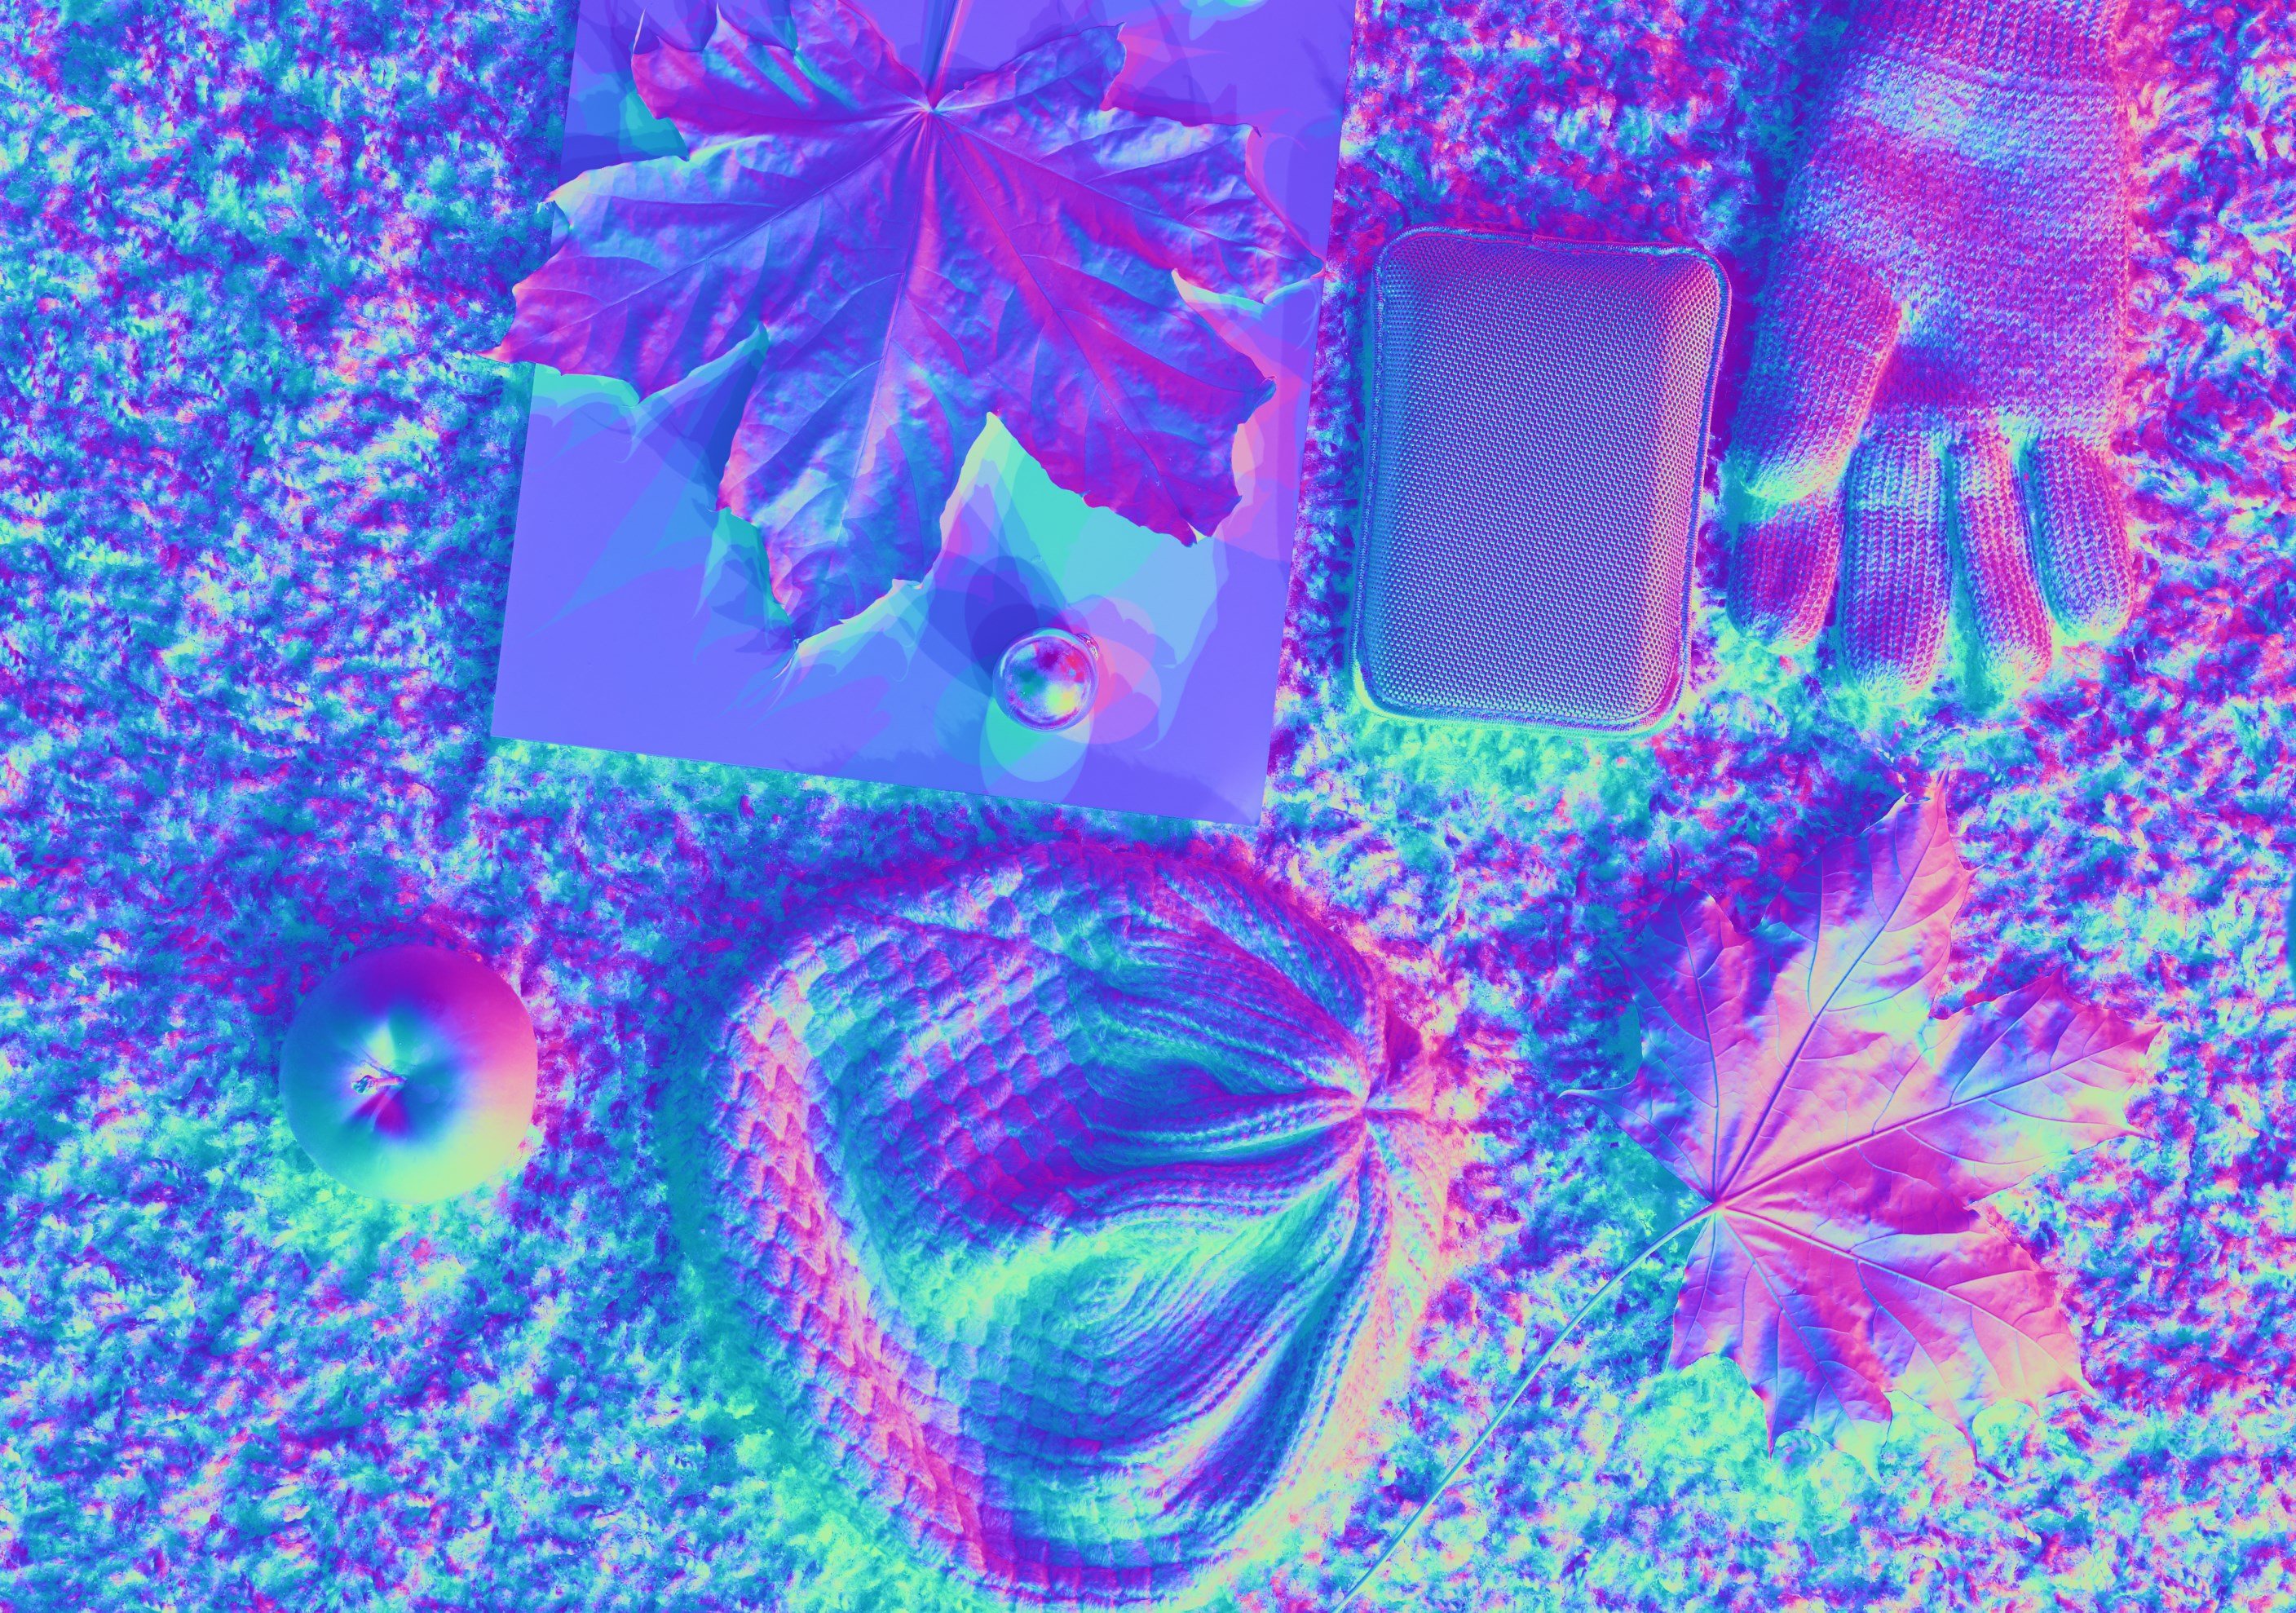
Into that:
Before I managed to do that, it took me 2-3 days of trial and error. At first I couldn’t find any software package that could process my photos using photometric stereo. Luckily I found some implementations written Python on Github that I could use. I fixed up the code a little to make it work on my end and processed first batch of photos.
The first test made me super happy, so after testing how the leaf would hold up in animation with V-Ray 2sided shader I got even more excited.
Workflow.
At the moment I’m sure that this is the best way to go for leaves, cloth, concrete, bricks, anything that you need only one side “scanned”. I planned my workflow like this:
- Take as many photos as possible with different light direction. Intervalometer was very helpful. Super bright portable bike light would work great as spotlight.
- If there is additional ambient lighting: Take one photo without spotlight, so you can substract it from photos with the spotlight… This would leave you something like “Light Select” pass. ( video ).
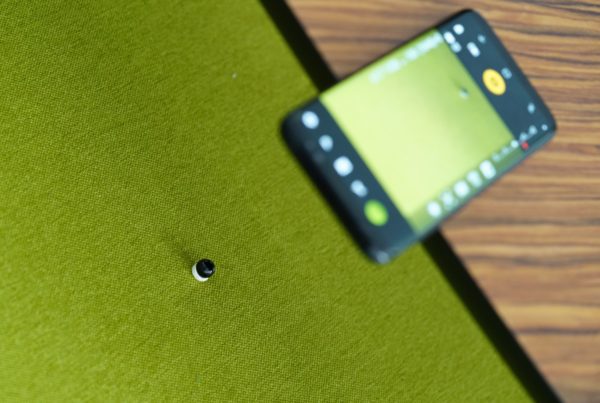
- Automate calibration process for the light vector with the help of mirror sphere and Python. Light vector can be calculated based on the XY coordinates of the light reflection in relation to center of the sphere.
- Connect it all together with already working Python code and start having fun.
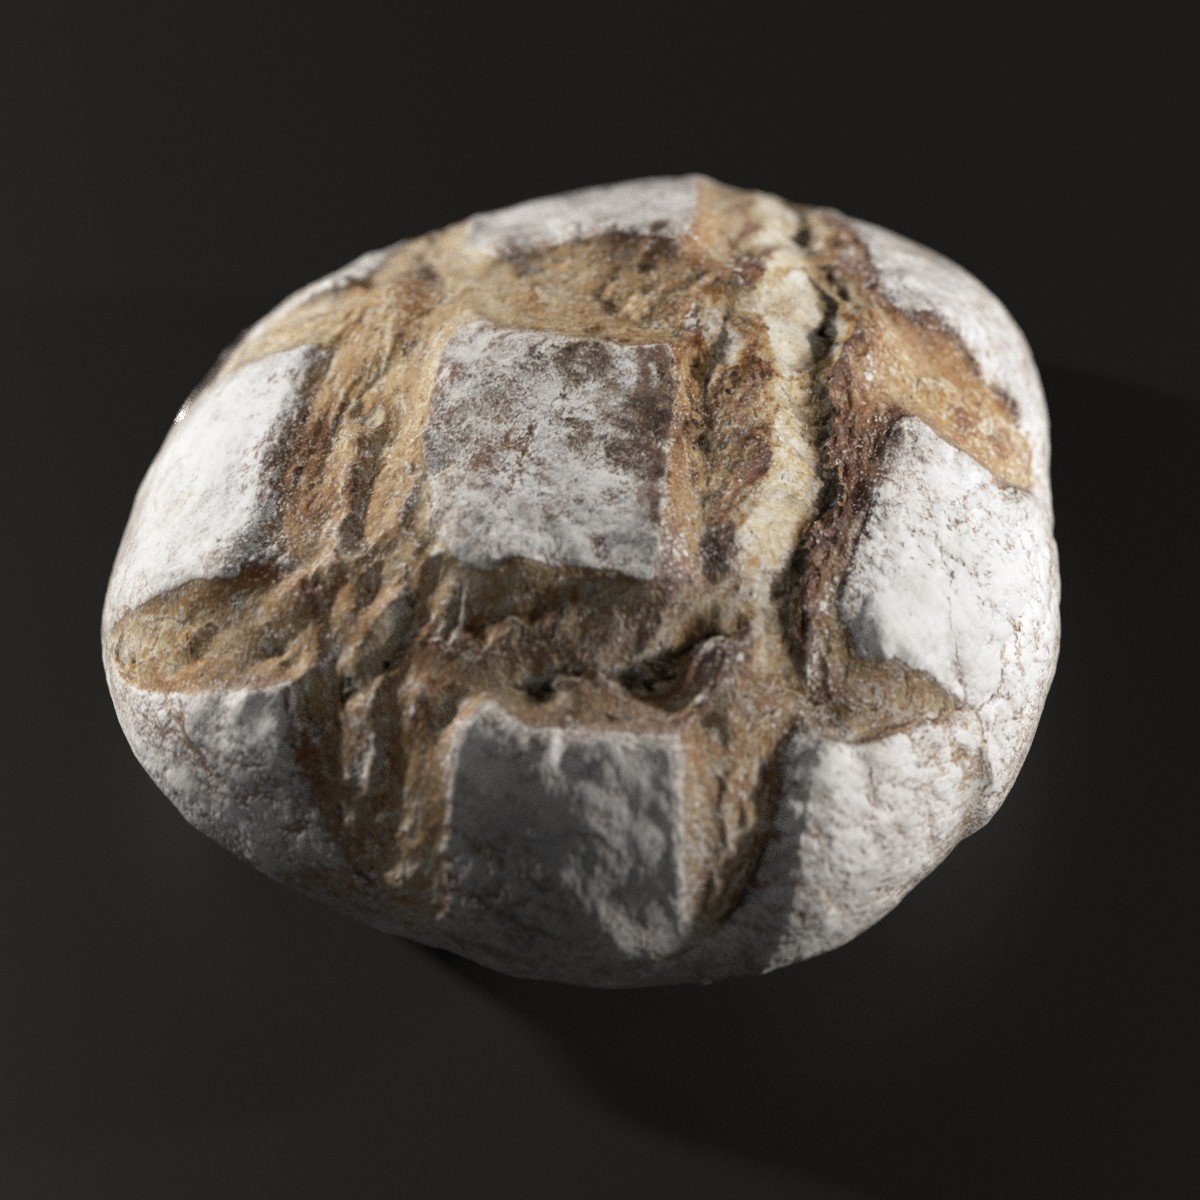
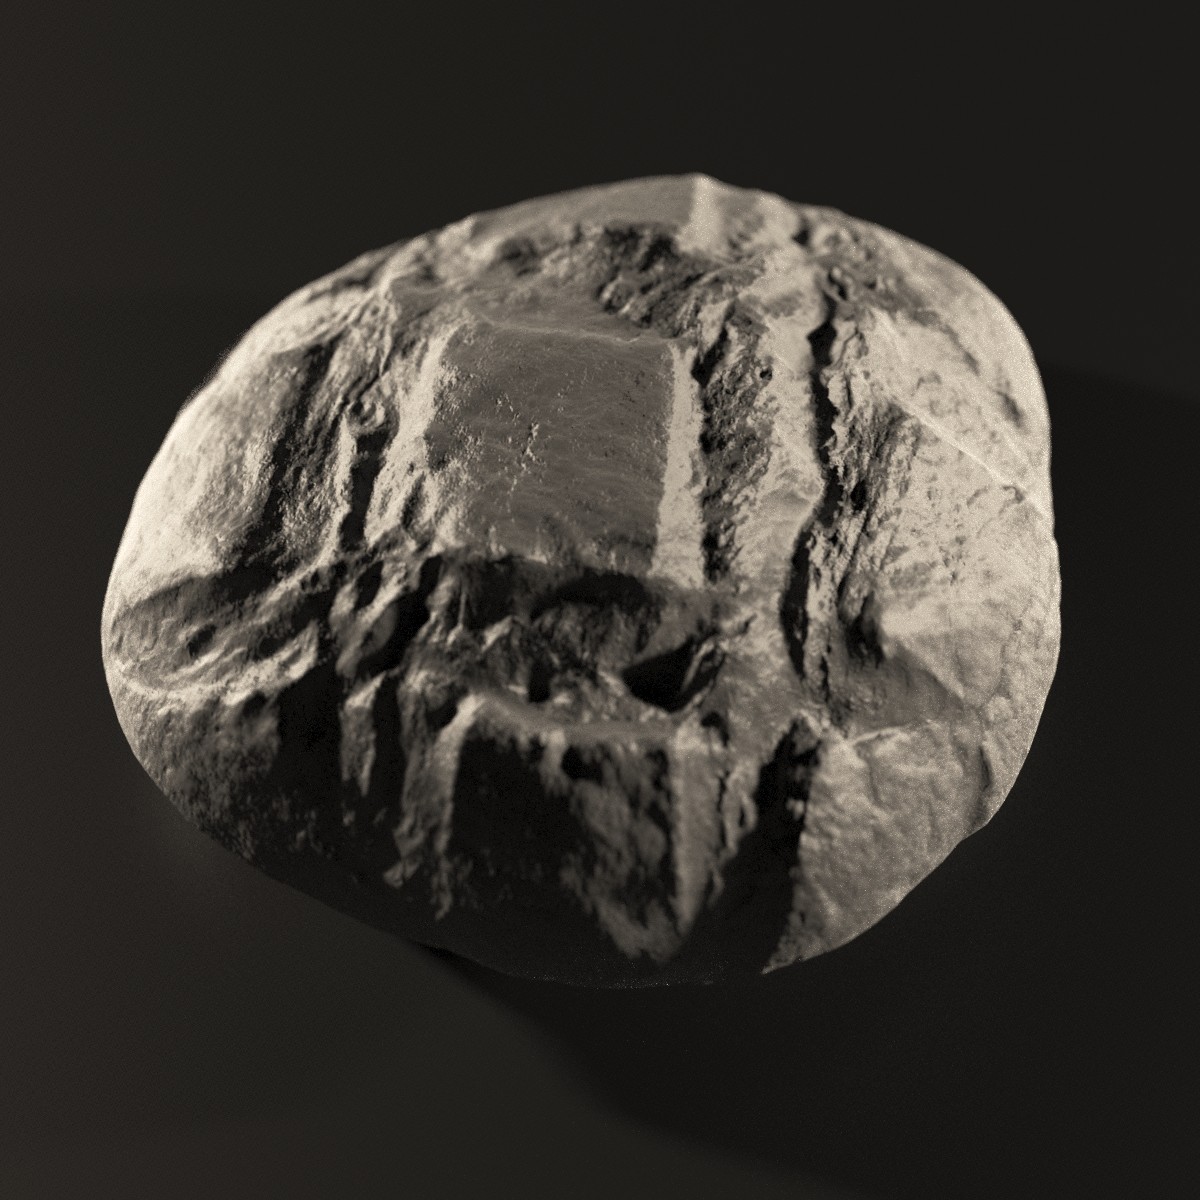
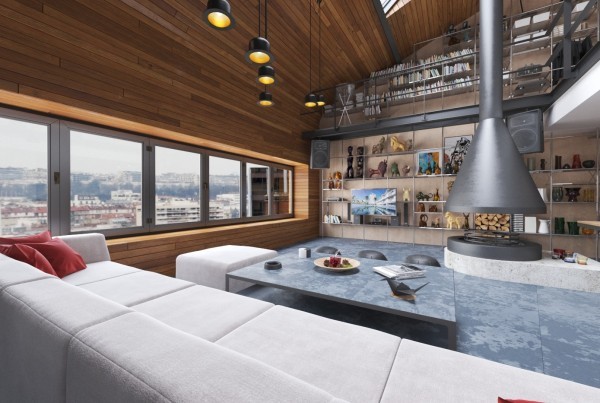
This was the next test:

What now?
I plan to do little more research and testing until the flora wakes up after winter to capture some high resolution leaves. So far I figured that since the camera is fixed, it’s easy to capture additional maps like translucency by taking one additional photo with the leafs back lit with even lighting.
In the meantime you can download textures used for above image. Photometric stereo sample textures
I will revisit this technique very soon.

Hi Tomasz, I’d like to test Dabarti Capture to generate better normal map, for the moment, I merge normal obtained by the geometry of an object and the normal obtained by baking the texture (it works well but, never gone so far than what you present).
Is it possible to use Capture to obtain a full normal map from a UV map unwrapped ??? or is it just for flat object as leaves of canvas textures to create a pbr material ???
Many thks
Hi Henry-Louis,
The method is meant to work with single point of view so it’s best suited for flat surfaces, or object that you need only one side being captured. It might be possible to project this normal onto photogrammetry captured 3d model, but this might require capturing multiple views with photometric stereo to get full coverage.
Best,
This is very interesting. Thanks for sharing your research. I’m curious to see if it’s possible to incorporate a motorised turntable. Then the light could stay in one location, the camera could be set to time interval and would probably take less time to capture.
Thinking about it now, I’m not sure that would be possible..
perhaps a raspberry pi could be used to fire the camera and fire individual lights in sequence. that could be fun 🙂
Thanks for sharing! I’m curious to know what did you change exactly in the python code to make it work for you? Cool: that python code was develop in my hometown university! (Université Laval in Québec city)
Hi,
First I mainly worked on making it user friendly and on the light calibration and processing itself. So it could be easy to use for anyone.
I’m actually about to release very user friendly version of that tool. https://www.dabarti.com/screens/667cdc294c2-9a6a-40ac-a9a7-3819db4380b1.mp4
Best,
Tomasz
tank you for you’r sharing. it’s very impressive project.