1. Intro.
With this tutorial I would like to show you how you can capture detailed textures using Dabarti Capture Software.
Dabarti Capture Software is command line tool that can calculate albedo, normal map and displacement textures from multiple photographs with varying lighting. Software is tested in production and works most of the image file formats including RAW camera files.
It helped us in creation of many of our recent projects.
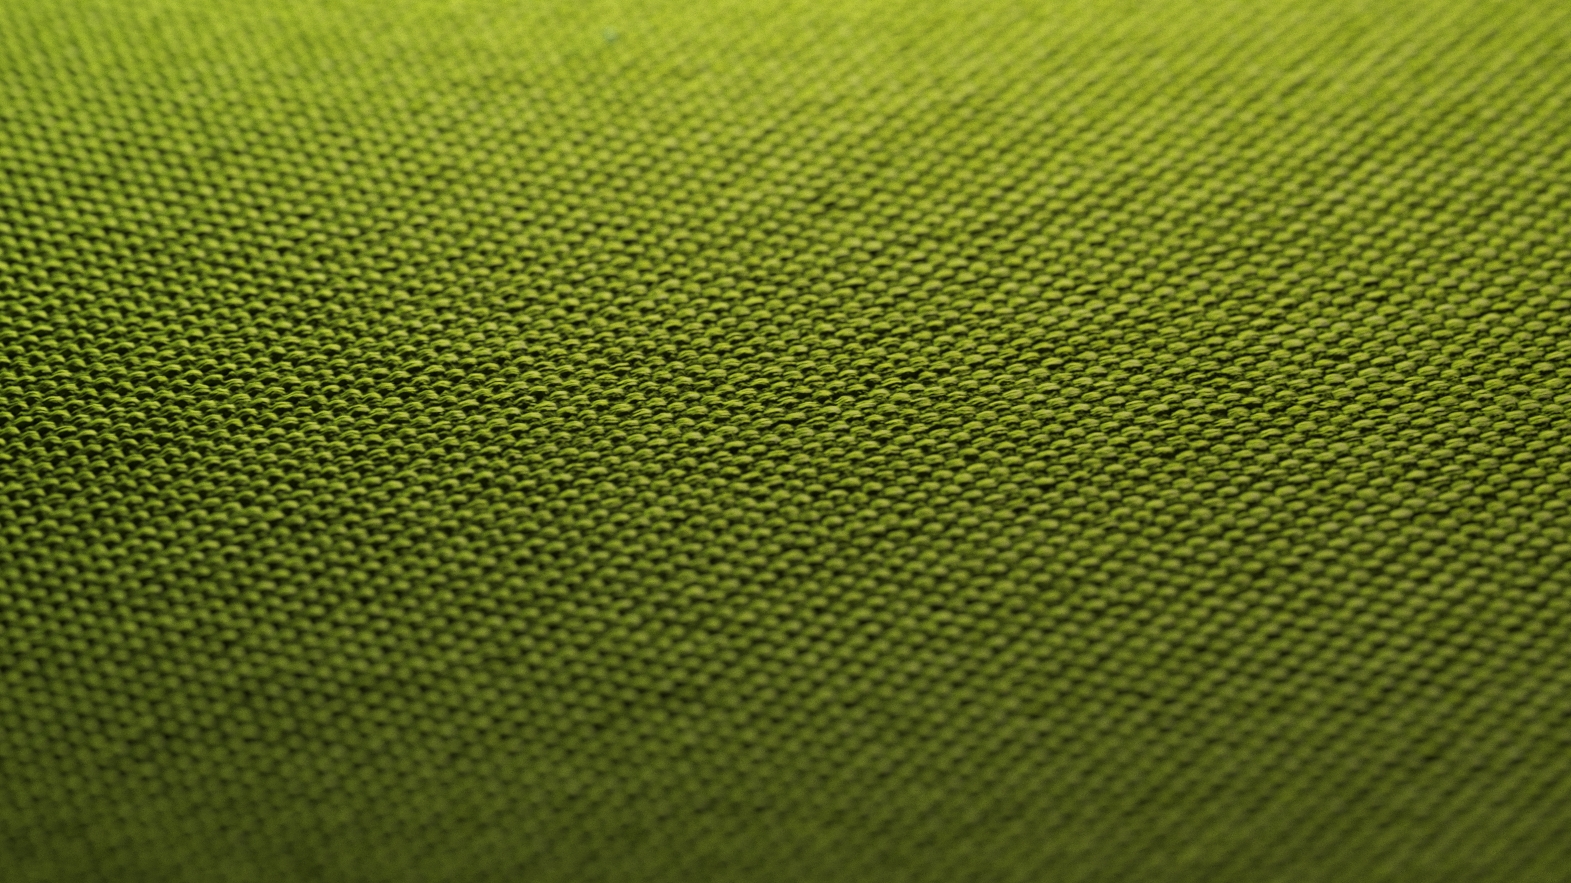
2. Dabarti Capture Results.
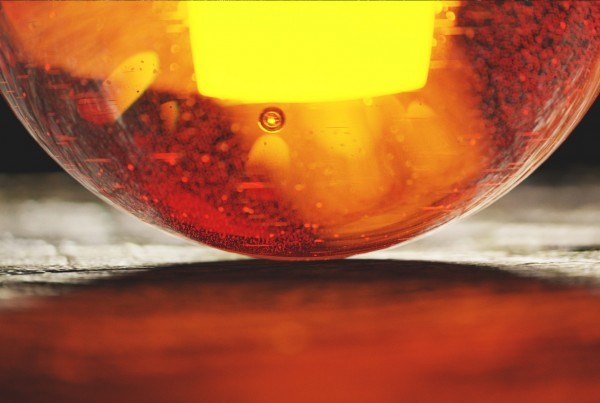
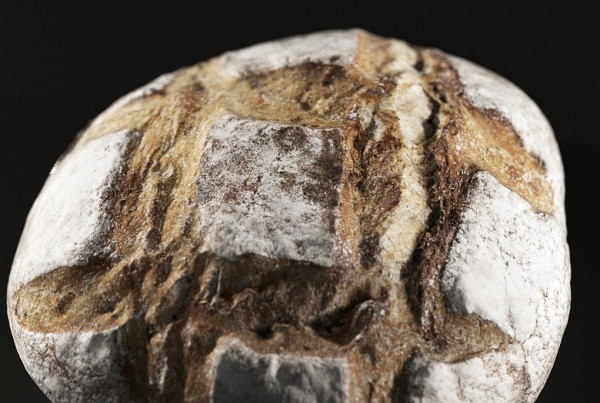
Before I dive into the process, here are 2 renders. First one with captured fabric textures. Input photographs were taken with mobile phone. Second is Rusty old metal Captured using Sony A7RII.

3. Process.
For basic capturing process you will need:
- Digital Camera.
- Light source.
- Spherical reflective object for calibration.
- Optional but highly recommended: Remote shutter or intervalometer.
- Dabarti Capture Software (Demo or Pro)
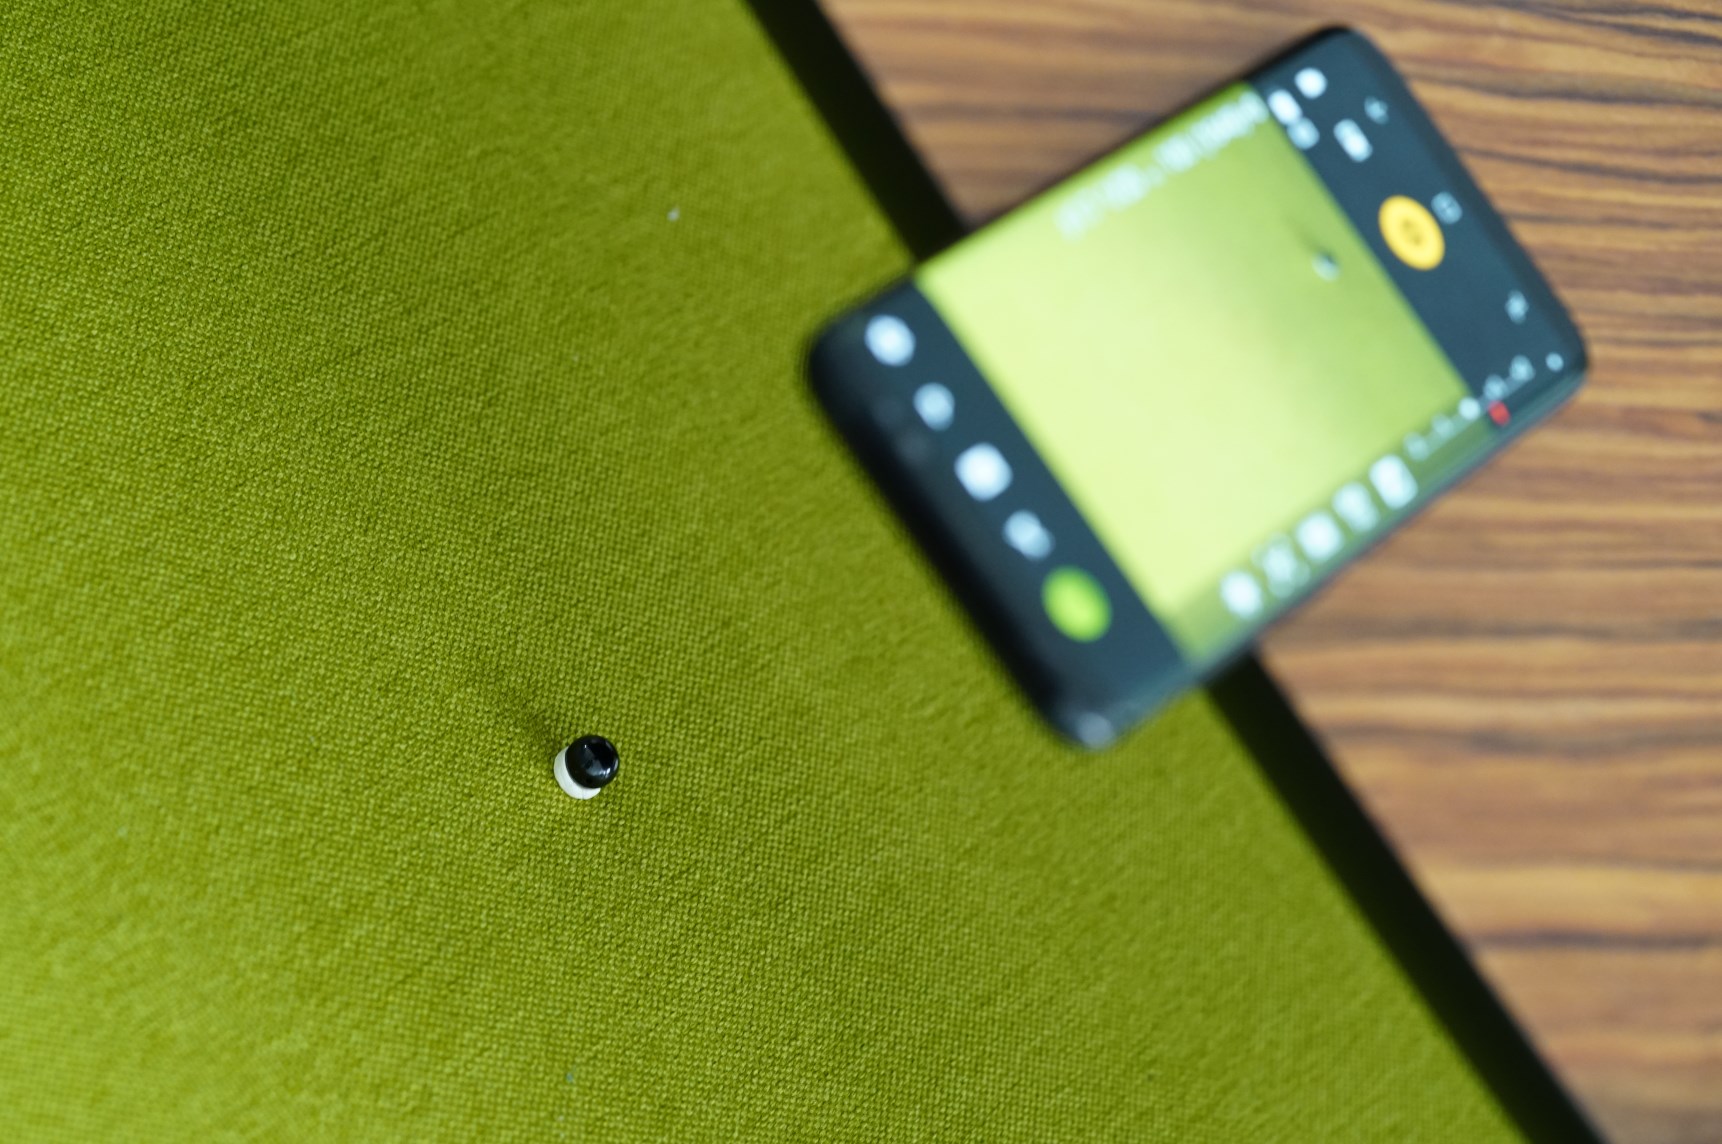
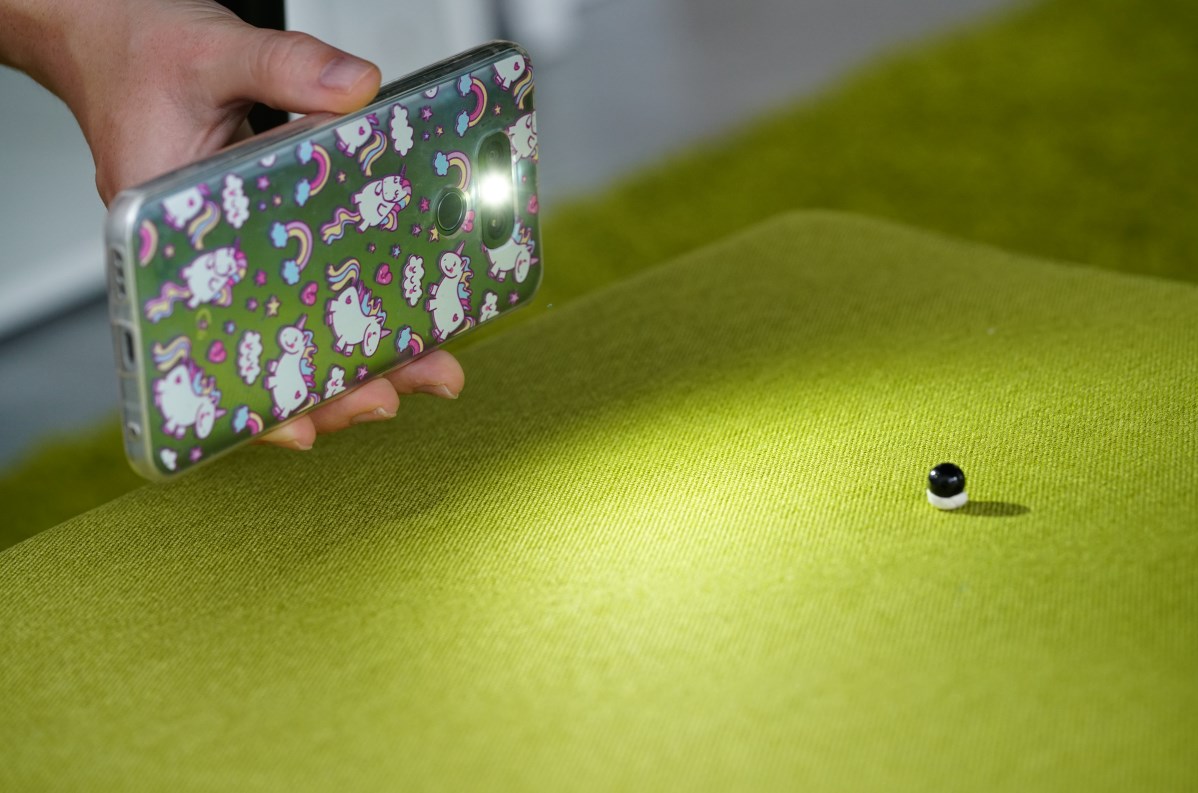
In this instance I’ve used Samsung Galaxy S8 as my Camera with android app that supports taking photos in intervals. As light source I’ve borrowed another phone to use it’s flashlight for lighting. The spherical object visible in the shot is used for calibration. You can use whatever you manage to find as long as it’s spherical. Ball bearings work well. For calibration light source reflection in the sphere is used so it has to be clearly visible.
4. Taking photos.
Shooting nice photos is essential if you want to get best results. Here’s what you need to pay attention to:
- Make sure that camera focus is right on the subject.
- Don’t move camera. Each photo has to be taken from exactly the same perspective.
- For best results take at least 6 photos.
- For each photo change the position of the light. Light up the subject from different direction.
- Make sure that calibration sphere is visible in the shot. It’s used to calculate light direction.
- Light source that you’re using has to be brighter than ambient light.
With this in mind you can easily get photo set that will provide great results. Photographs could be taken with mobile phone or high quality digital camera.
In my case those are resulting photographs:
5. Processing data with Dabarti Capture.
- Download and install Dabarti Capture. https://www.dabarti.com/capture
- Copy all photographs of your subject into single directory. In my instance it’s called “Fabric”.
- Create mask for spherical probe and save it as probe_mask.jpg inside your directory. Short tutorial how to do it in Photoshop: https://vimeo.com/284159683 .
- Drag and Drop “Fabric” directory onto capture.exe (default install location is C:\Dabarti_Capture). This will start processing progress.
This is how the whole process looks like:
This tutorial data set is available after you purchase Pro licence (on Gumroad for 99USD ) or if you Subscribe for Demo version (limited to 1024px) – . You can find more about Dabarti Capture on the product page – https://dabarti.com/capture/ .
6. Results.
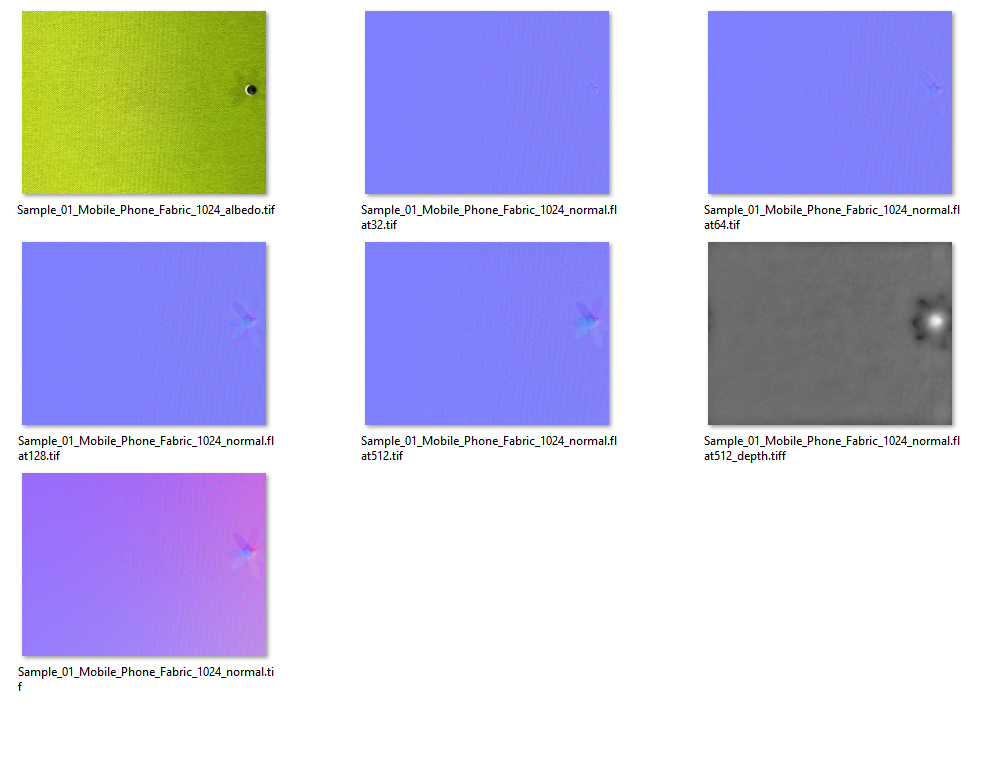
After processing inside Output directory you will find many maps. Those will include:
- Albedo (diffuse) texture.
- Raw Surface Normal (distorted)
- Flattened Surface Normals. Those are processed variations of raw surface normal. Flattening removes low frequency bending.
- Depth (displacement) texture. This is displacement map generated from flattened normal map.


If you would like to use those textures with V-Ray GPU. I’ve recorded basic setup of how it should be used – https://vimeo.com/284188076 .
7. Expert Tips.
Batch Process. You can batch process huge number of data sets. If you have ‘Pro’ version you can process any number sets one after another by creating a file batch.bat and placing all the commands you want to perform in separate lines:
C:\Dabarti_Capture\Capture.exe C:\Path_to_Data_Set_01

C:\Dabarti_Capture\Capture.exe C:\Path_to_Data_Set_02

C:\Dabarti_Capture\Capture.exe C:\Path_to_Data_Set_03

C:\Dabarti_Capture\Capture.exe C:\Path_to_Data_Set_04

pause
Depth Generation from tiled normal map. You can create tiled version of normal map with Photoshop or Nuke, save it as 16 bit tif and drag and drop it onto capture.exe . As long as it has “normal” in the name Dabarti Capture will generate depth from this file.
Fixing light calibration. In some cases it may happen that your light source doesn’t have visible highlight on the spherical probe. This could be a result of some mistake during photo capturing stage. You can check if the light was detected correctly by going to “light” directory that was created by Dabarti Capture and manually reviewing the images. If you see that light position wasn’t detected correctly, you can manually edit _probe.jpg file, darken it slightly and mark down with white dot position of the light. After saving it, remove lights.txt and the lights positions will be re calibrated when you try to process the same data set again.
Reusing light calibration. You can copy “lights” directory to different set and it will be reused. This is handy if you have some automatic light rigs and the lights position is the same in every data set.
Use cross polarization photography. For reflective and shiny surfaces it’s recommended to use cross polarization. This will remove strong highlights and improve quality of captures.
8. Summary.
Hopefully I’ve covered most of the topics, but if you would like to get some clarifications or additional information, please post in comments or in our Facebook group – https://www.facebook.com/groups/dabarti/ . I will update this page if needed.
Enjoy Capturing some amazing surfaces and details!

Use Affinity Photo. You can stamp and clone on multiple layers at the same time.
Thanx, I will try it.
not layers but channels you can have multiple “alpha channels” you can put all maps in there after editing you have to seperate them but this is easy with an action.
Hi, I have the full version and I’m really happy with it, but my only problem is tillable textures – if I do it in photoshop, with just say the normal map, its really hard to have the exact same result (while painting with clone stamp) with the other maps like displacement? How do you approach tillebility?
It’s bother me too. Technology looks super cool but You can’t use it in oridynary work, only closeups. Only this issue stops me to buy this software. Maybe recording some actions in photoshop will wor?
well, cant you just put all of your maps on separate layers in photoshop & use the clone stamp tool on all of them at the same time?